Easy Flaky Gluten Free Pie Crust Recipe (Dairy Free too)
This post may contain affiliate links. As an Amazon Associate, and through other affiliate programs, I earn a small commission from qualifying purchases — at no extra cost to you. See our full disclosure policy for details.
Make a homemade Gluten Free Dairy Free Pie Crust with only 6 ingredients in under a half hour with this insanely easy, fail proof recipe!
Tired of missing out on pies because so many crusts have gluten in them? This flaky, flavorful Gluten Free Dairy Free Pie Crust recipe uses just 6 ingredients and comes together in under 30 minutes – whether you're a seasoned gluten-free baker or just starting out.
We have a Chicken Pot Pie recipe that is always a hit and a Chocolate Cream Pie that we have learned we can't take anywhere, unless we bring two or more of them, haha! It's that good.
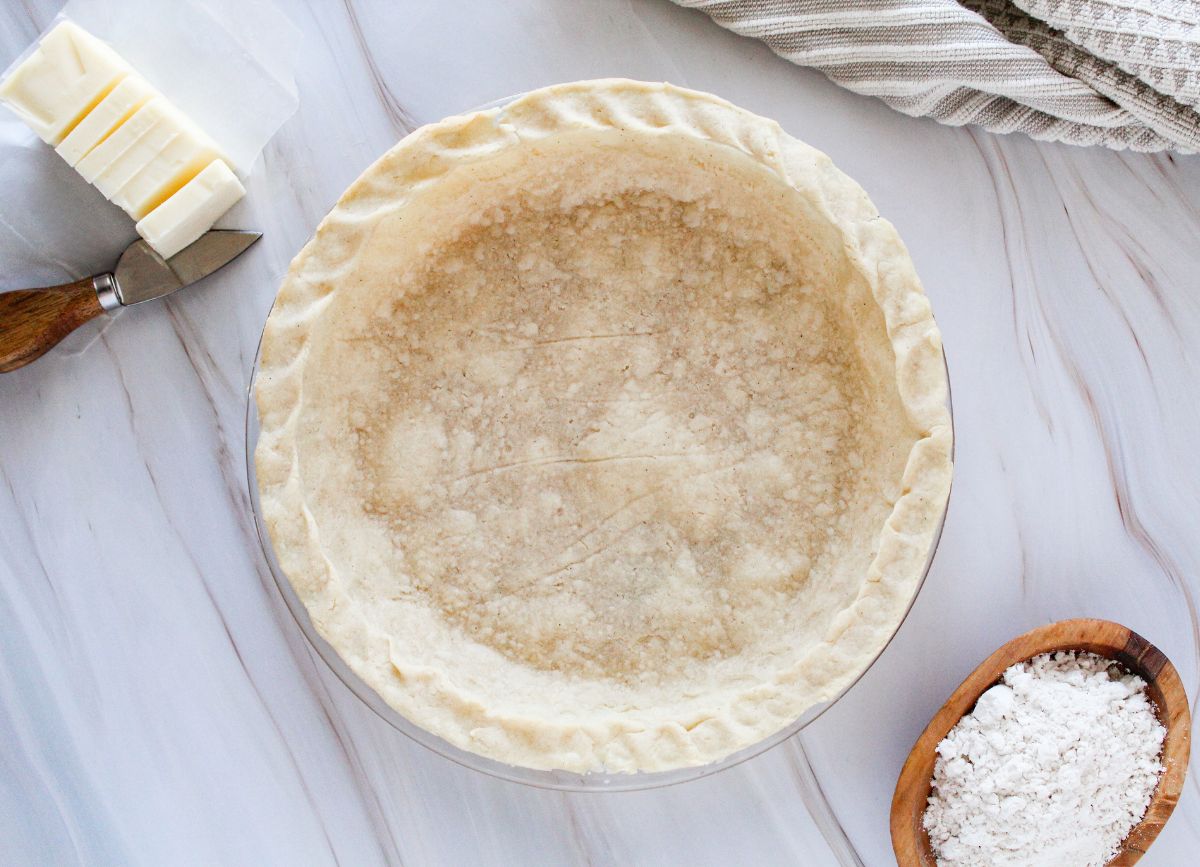
Now that we have this incredible gluten-free pie crust, we can make all of our old dessert pies and can't wait to share those recipes with you all soon!
Why Make This Homemade Gluten and Dairy Free Pie Crust?
- Have you seen the prices of the gluten free pie crusts at the store? They're astronomical (just like anything else that is gluten free/specialty and already prepared). It really makes you not want to have certain things if you have to pay so much for them.
- Plus, so many of the times, they're not just more expensive, but they're smaller than traditional gluten containing pie crusts, and then sometimes that messes up the rest of the homemade pie recipe you're trying to use.
- This recipe is cheaper in the long run and you know you can make one at home and have it when you need it.
- It's made with simple ingredients.
- You never know if the grocery store is going to have what you need on hand or if they'll be out of stock.
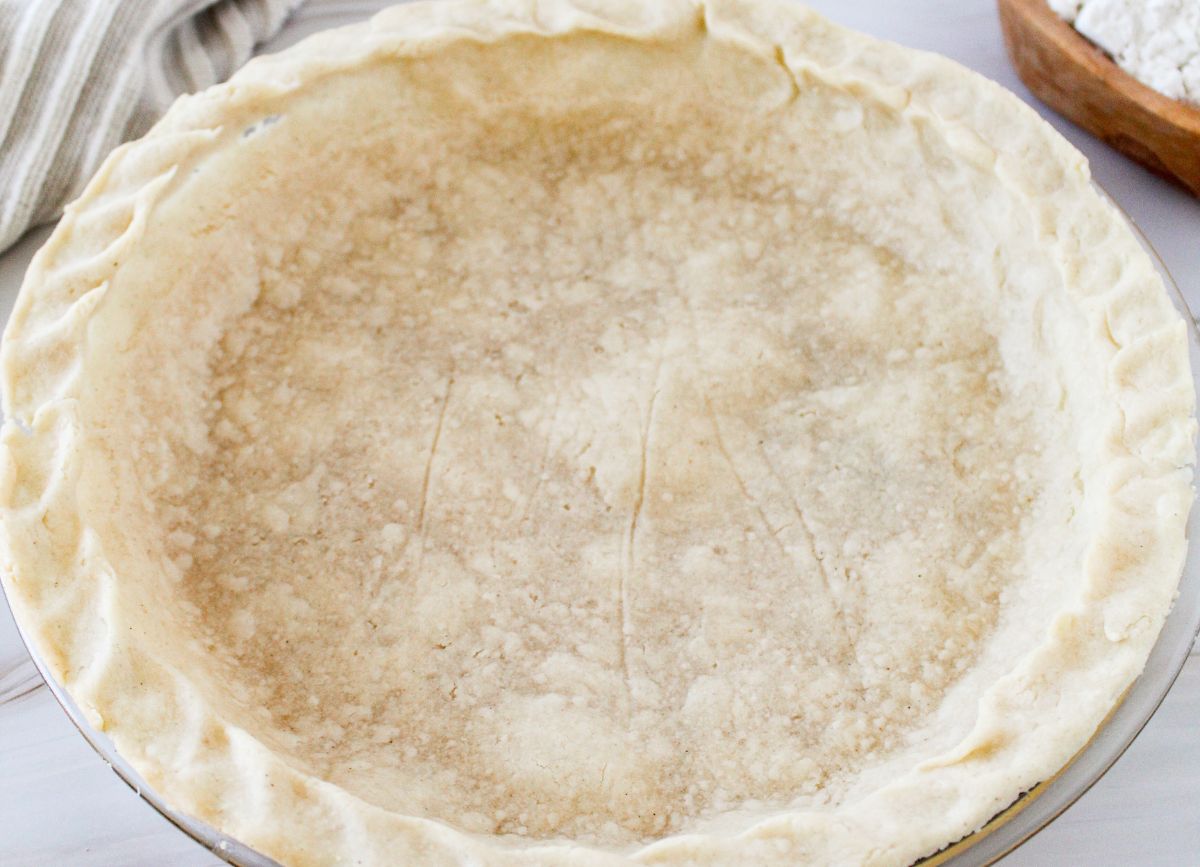
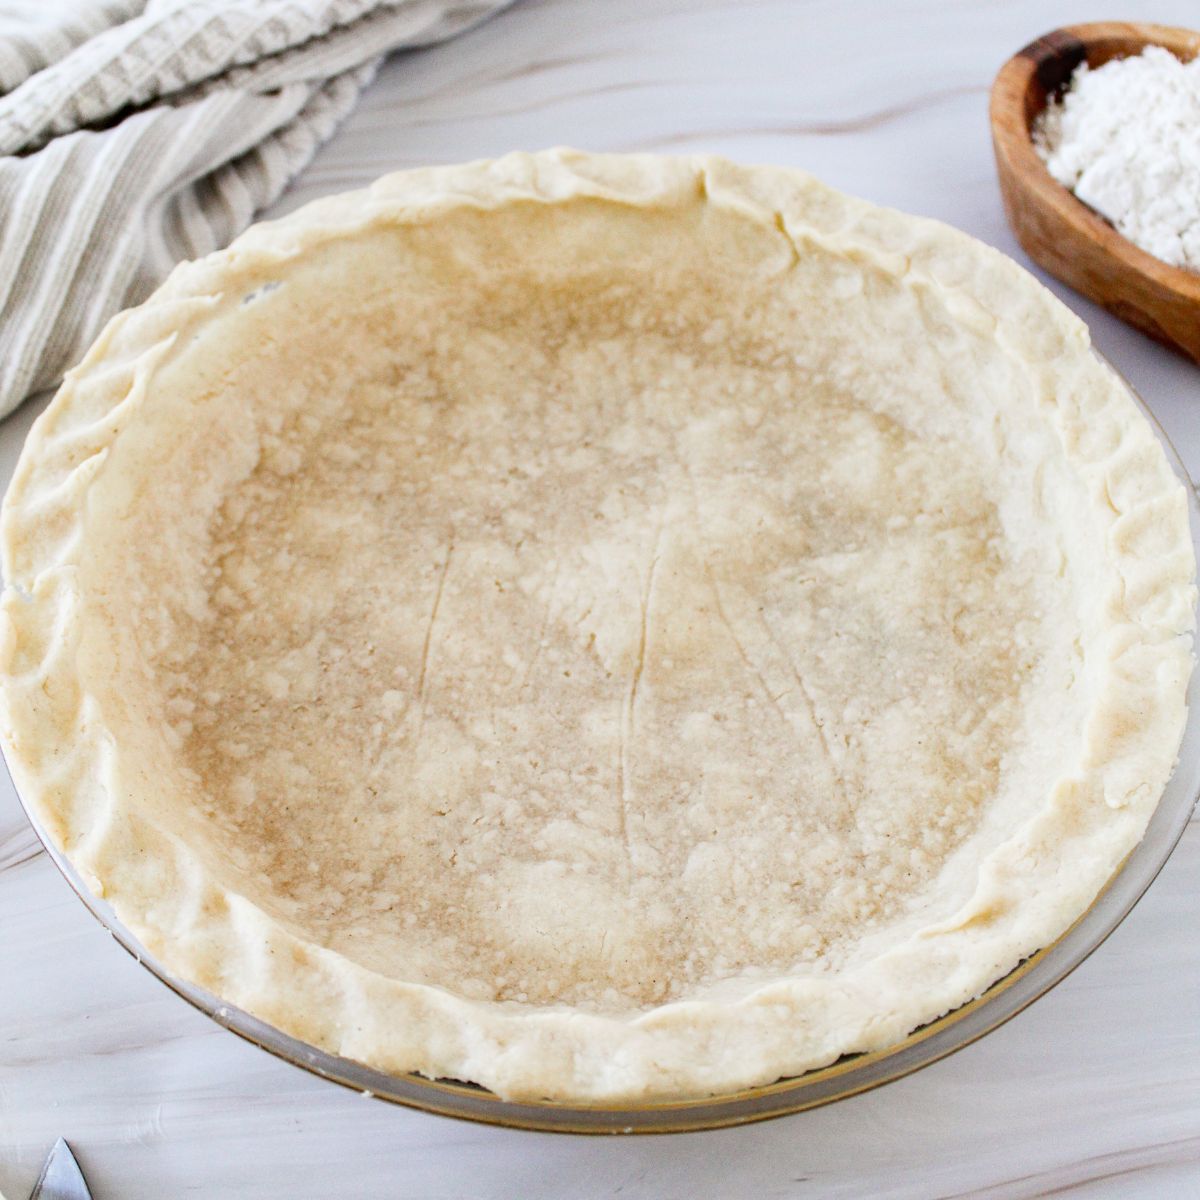
Not all pie crusts are created equal. This pie crust has a nice flaky crust for you to enjoy with whatever type of pie you're making.
You can make this dairy free (like we do), or use the dairy containing equivalents, for just a gluten free crust if you can have dairy.
Ingredients Needed
Here we share some notes and brands on ingredients. It can be helpful to use the brands we suggest as they're the ones that we have tested this recipe out with.
Other brands may work as well, we just haven't tested it with them, yet. More info, like the quantities of each ingredient can be found in the recipe card (with the instructions) at the bottom of the post.
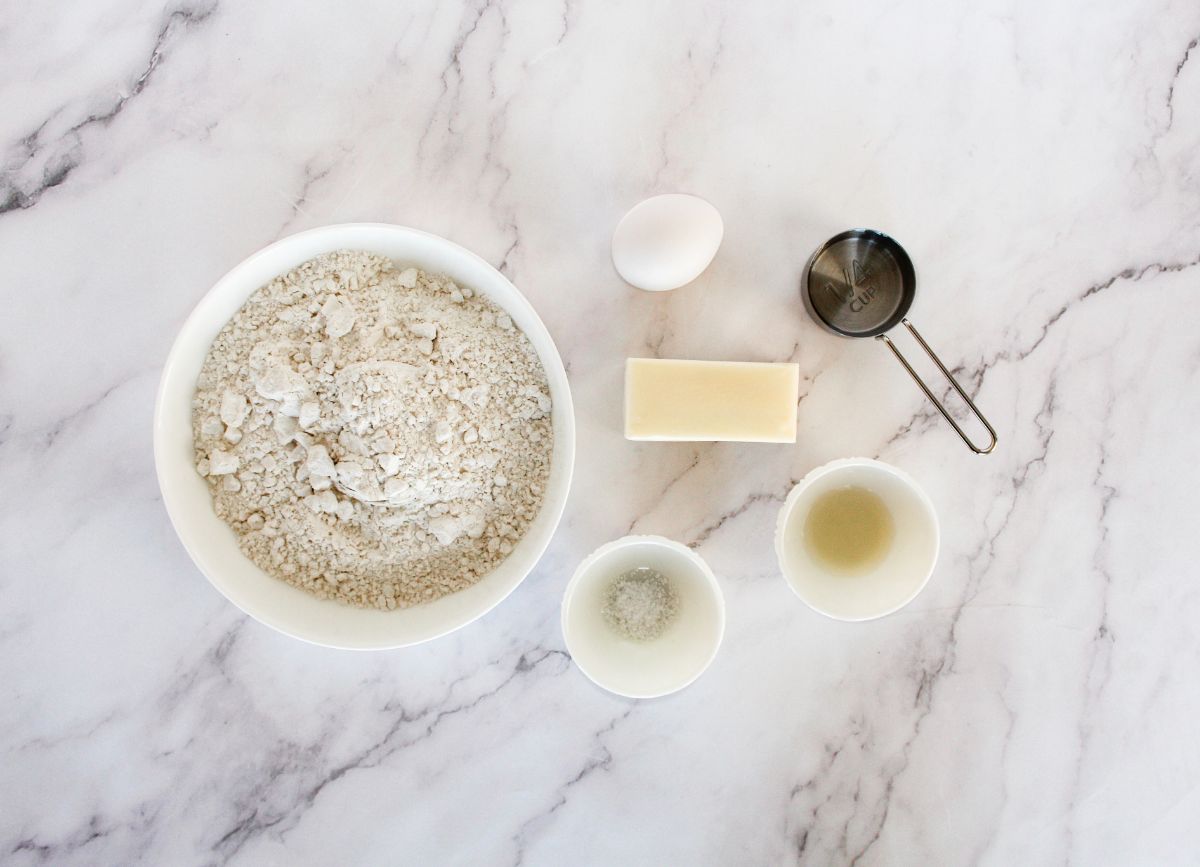
- gluten-free flour- We used the Bob's Red Mill 1-1 Baking Flour to make the crust with. We also chose this gluten-free flour blend brand because it contains xanthan gum to help hold the crust together. If you choose a different brand that doesn't have guar gum, xanthan gum or another gum agent, you may need to add a teaspoon of xanthan gum or something to help act as a binding agent for your crust. You could also use King Arthur's Measure for Measure Flour. It will also give you a good crust. We don't use Cup 4 Cup Gluten Free Flour because it contains milk and we are also dairy free. If you are only gluten free, you may want to try that. It also gives a nice crust.
- salt- kosher salt, sea salt, real salt, or table salt
- cold butter dairy free- We use Earth's Balance Buttery Sticks (the gluten free, dairy free, soy free version), but you could also use Country Crock's plant based butter or other vegan butter alternative. We like Earth Balance because it has a higher fat content which helps hold the dough together and gives it the flaky texture. Miyokos is a popular dairy free butter alternative, but like Vegan I Can't Believe It's Not Butter, they have a fat content that is much lower- almost half of the first two brands, so we choose NOT to use them in our crust recipe in fear that they may not give a flaky crust like we wanted.
- large egg- using a chilled egg along with the other cold ingredients is super important in making this crust
- lemon juice- use fresh squeezed if possible. The bottled lemon juice doesn't give the pop of flavor as nicely- it just tastes like chemicals.
- water- may or may not need this
Equipment
Here's some helpful kitchen equipment to have on hand while making your gluten and dairy free crust.
Mixing Bowls- We recommend mixing by hand or using a wooden spoon. While we love our stand mixer, we found that it's easy to overwork the dough if you use a mixer.
Measuring Cups and Spoons- We love our stainless steel ones and they're always in the kitchen, ready to go.
Pie Plate- We tested this using a glass pie plate. A metal pie plate may be used but you may need to bake for a different amount of time.
Pie Weights- optional, but they help make the perfect crust
Wax Paper- used to help roll out the dough
Rolling Pin- used to roll out the pie crust dough
Prep and Mix the Crust Dough
Start by preheating the oven to 350F. Grease or butter your pie pan and set it to the side.
In a large mixing bowl, add all of the dry ingredients and stir to combine.
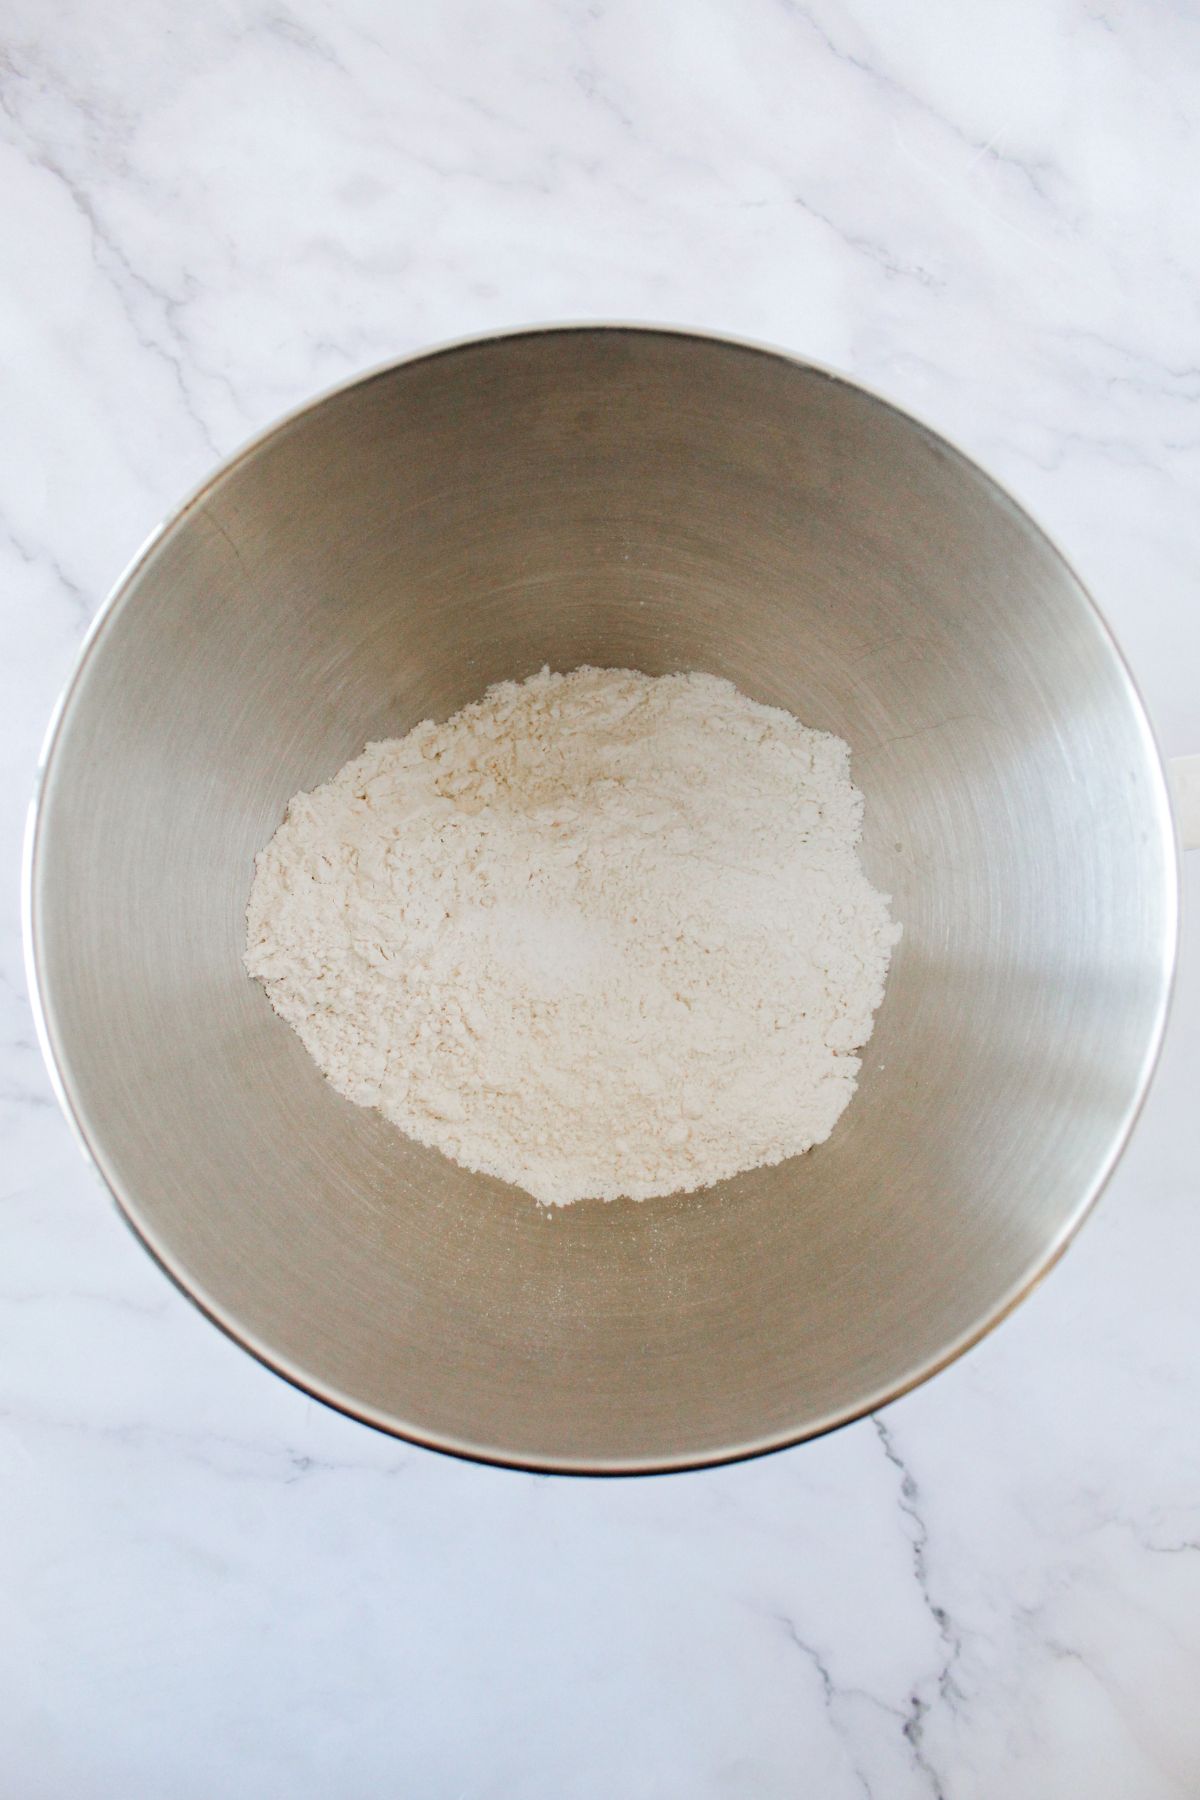
Add in the cubed butter and mix.
In a separate large bowl, add the wet ingredients and combine together.
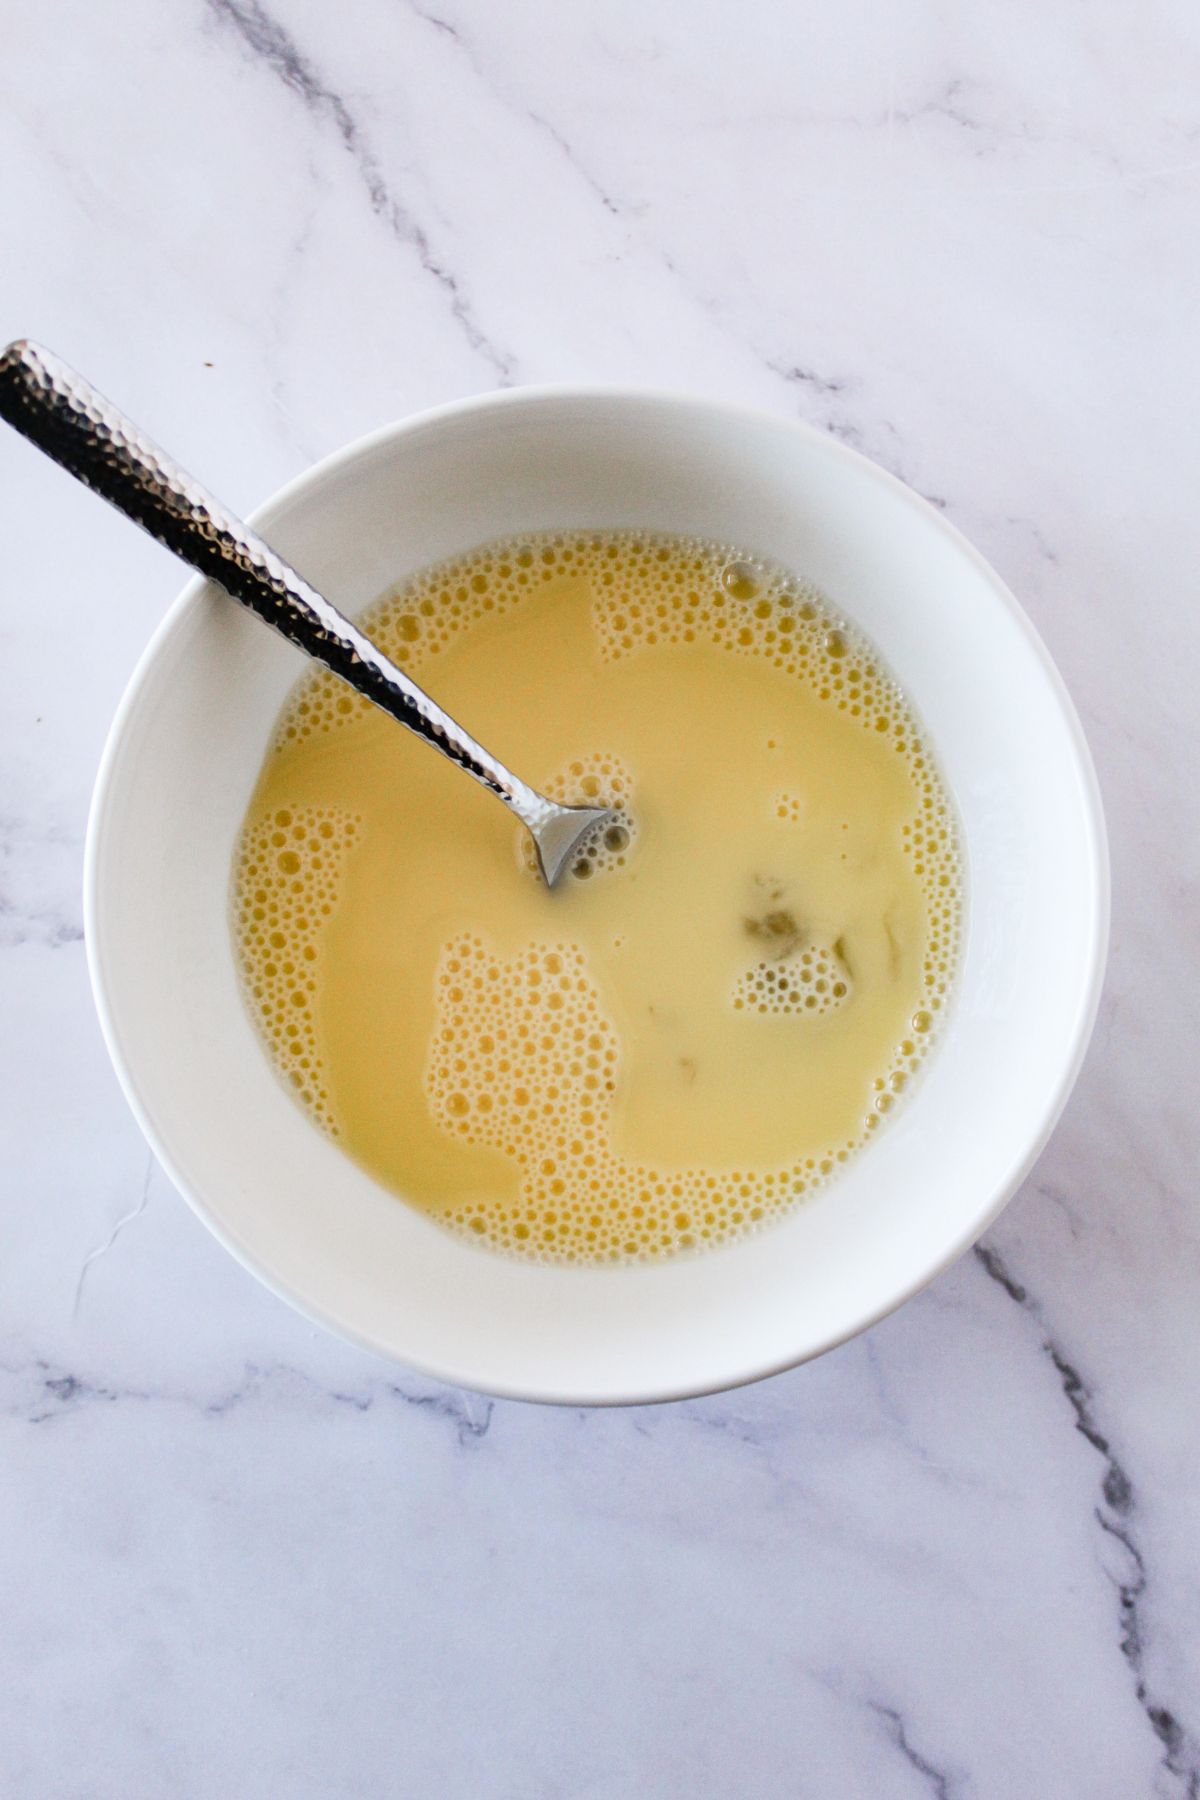
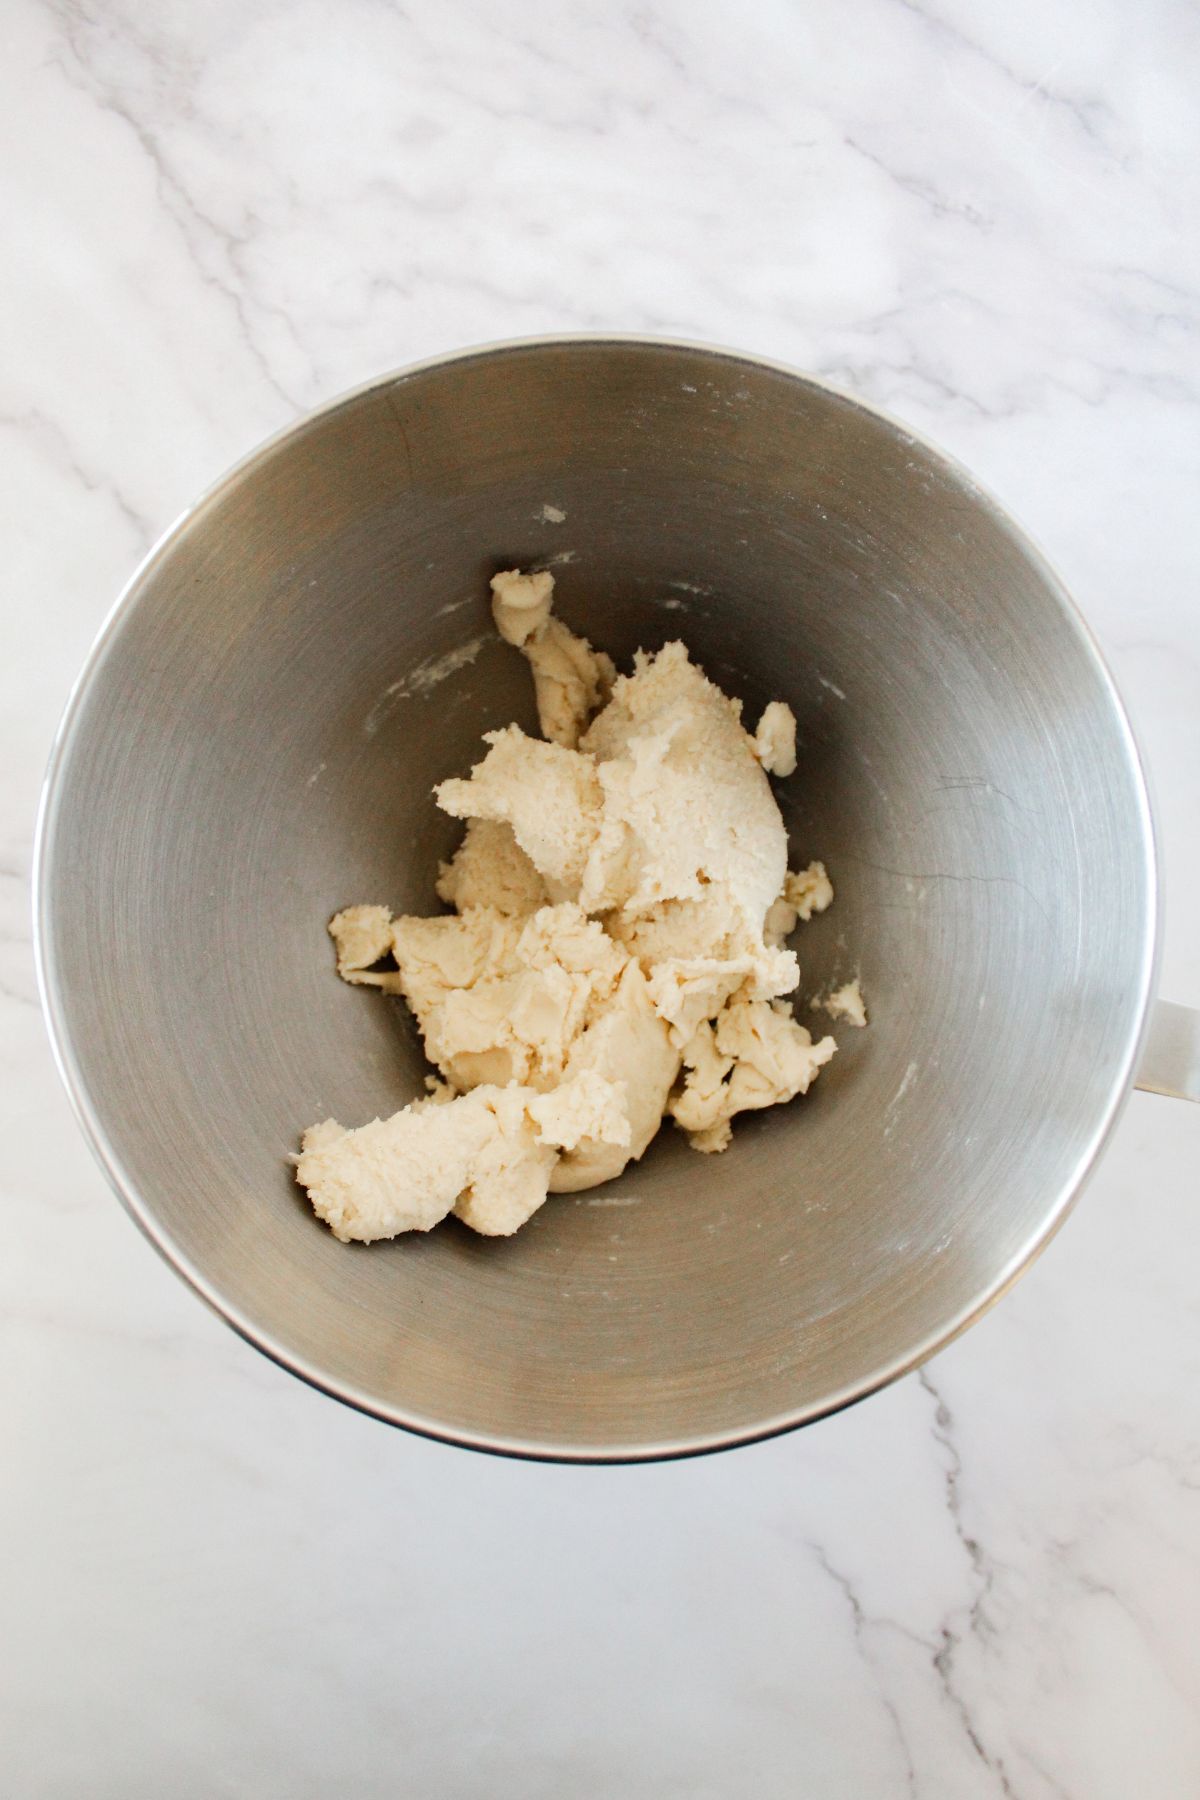
Carefully, add the wet ingredients to the dry ingredients and mix to combine. It should start to form a dough if it's too dry, add a Tablespoon of cold water and check the consistency. If still dry, add another Tablespoon and check again. Repeat until you get your desired consistency- you want it to feel like Play-doh.
Roll Out The Pie Crust Dough
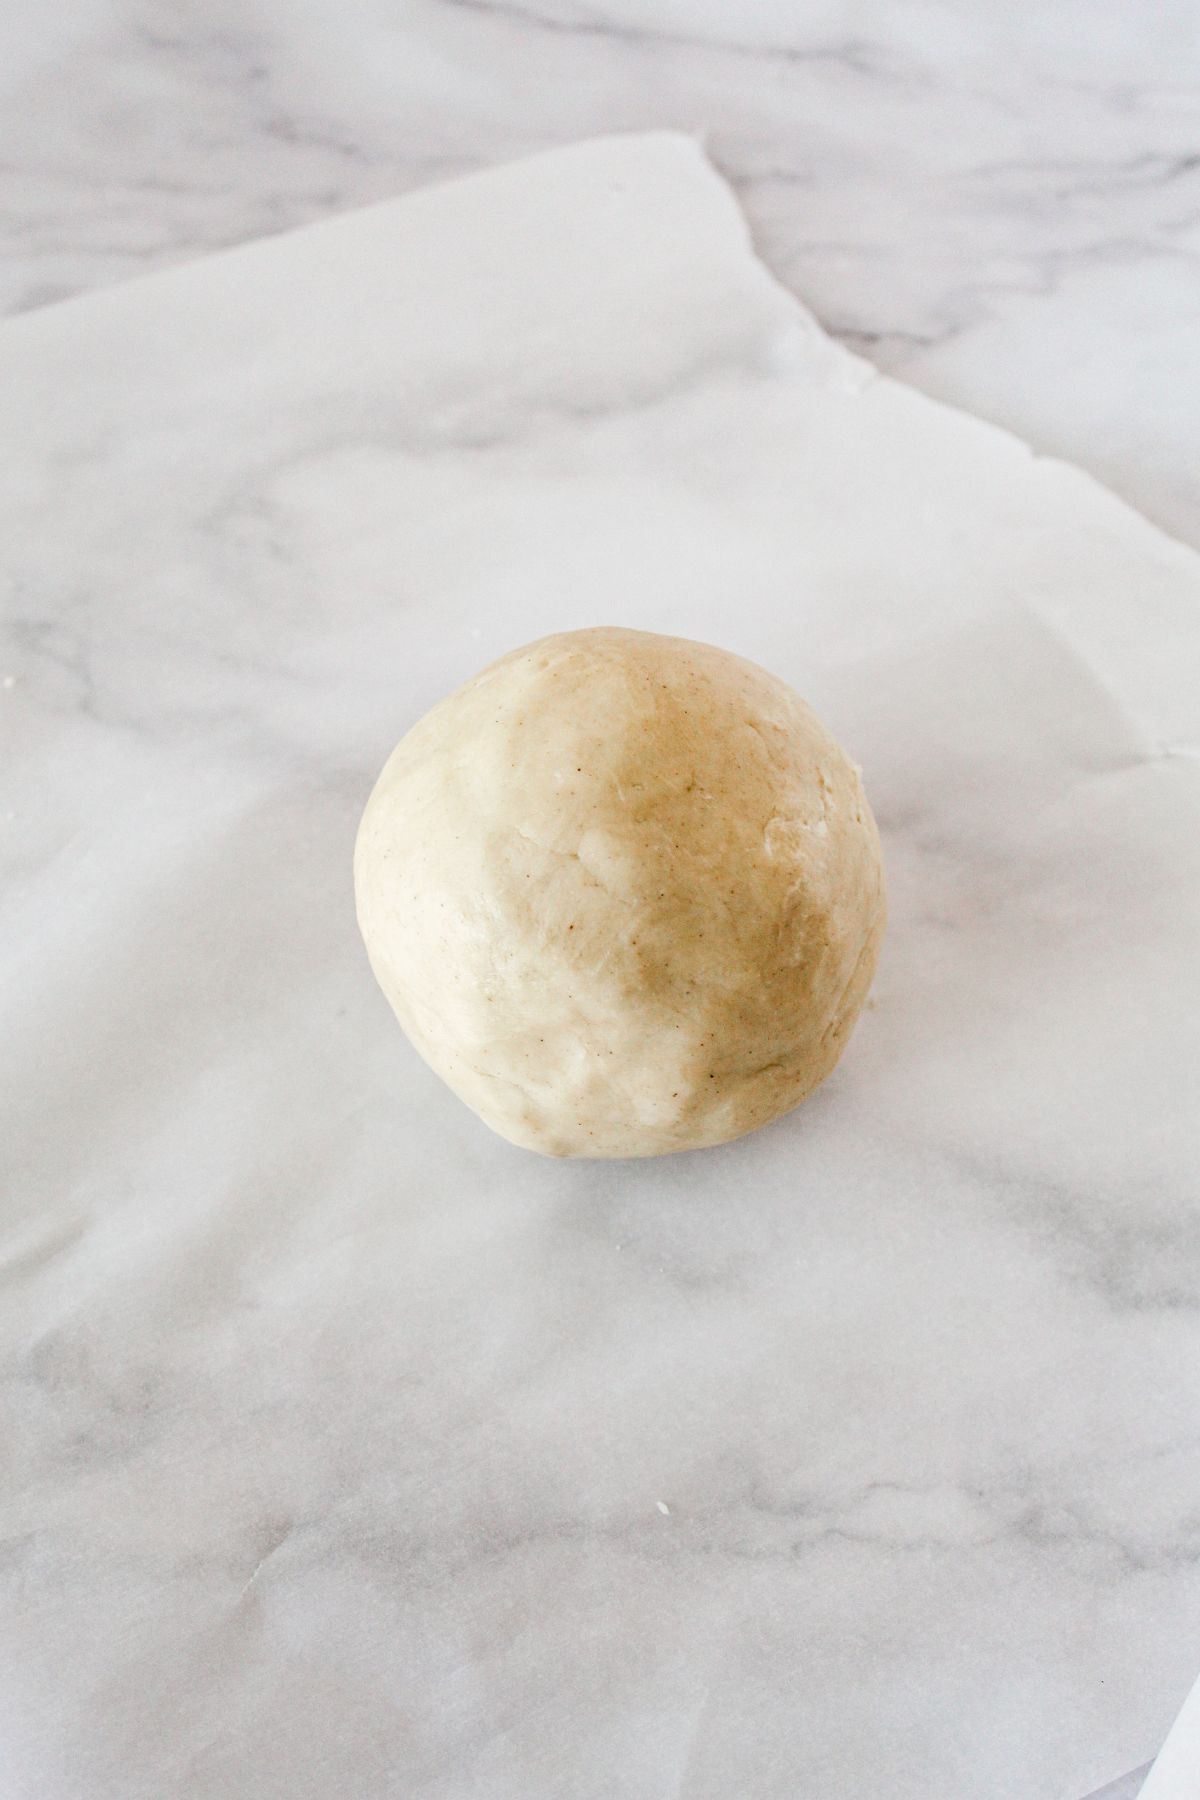
Place a piece of wax paper on your clean work surface. Work the dough into a ball and put the dough on the wax paper.
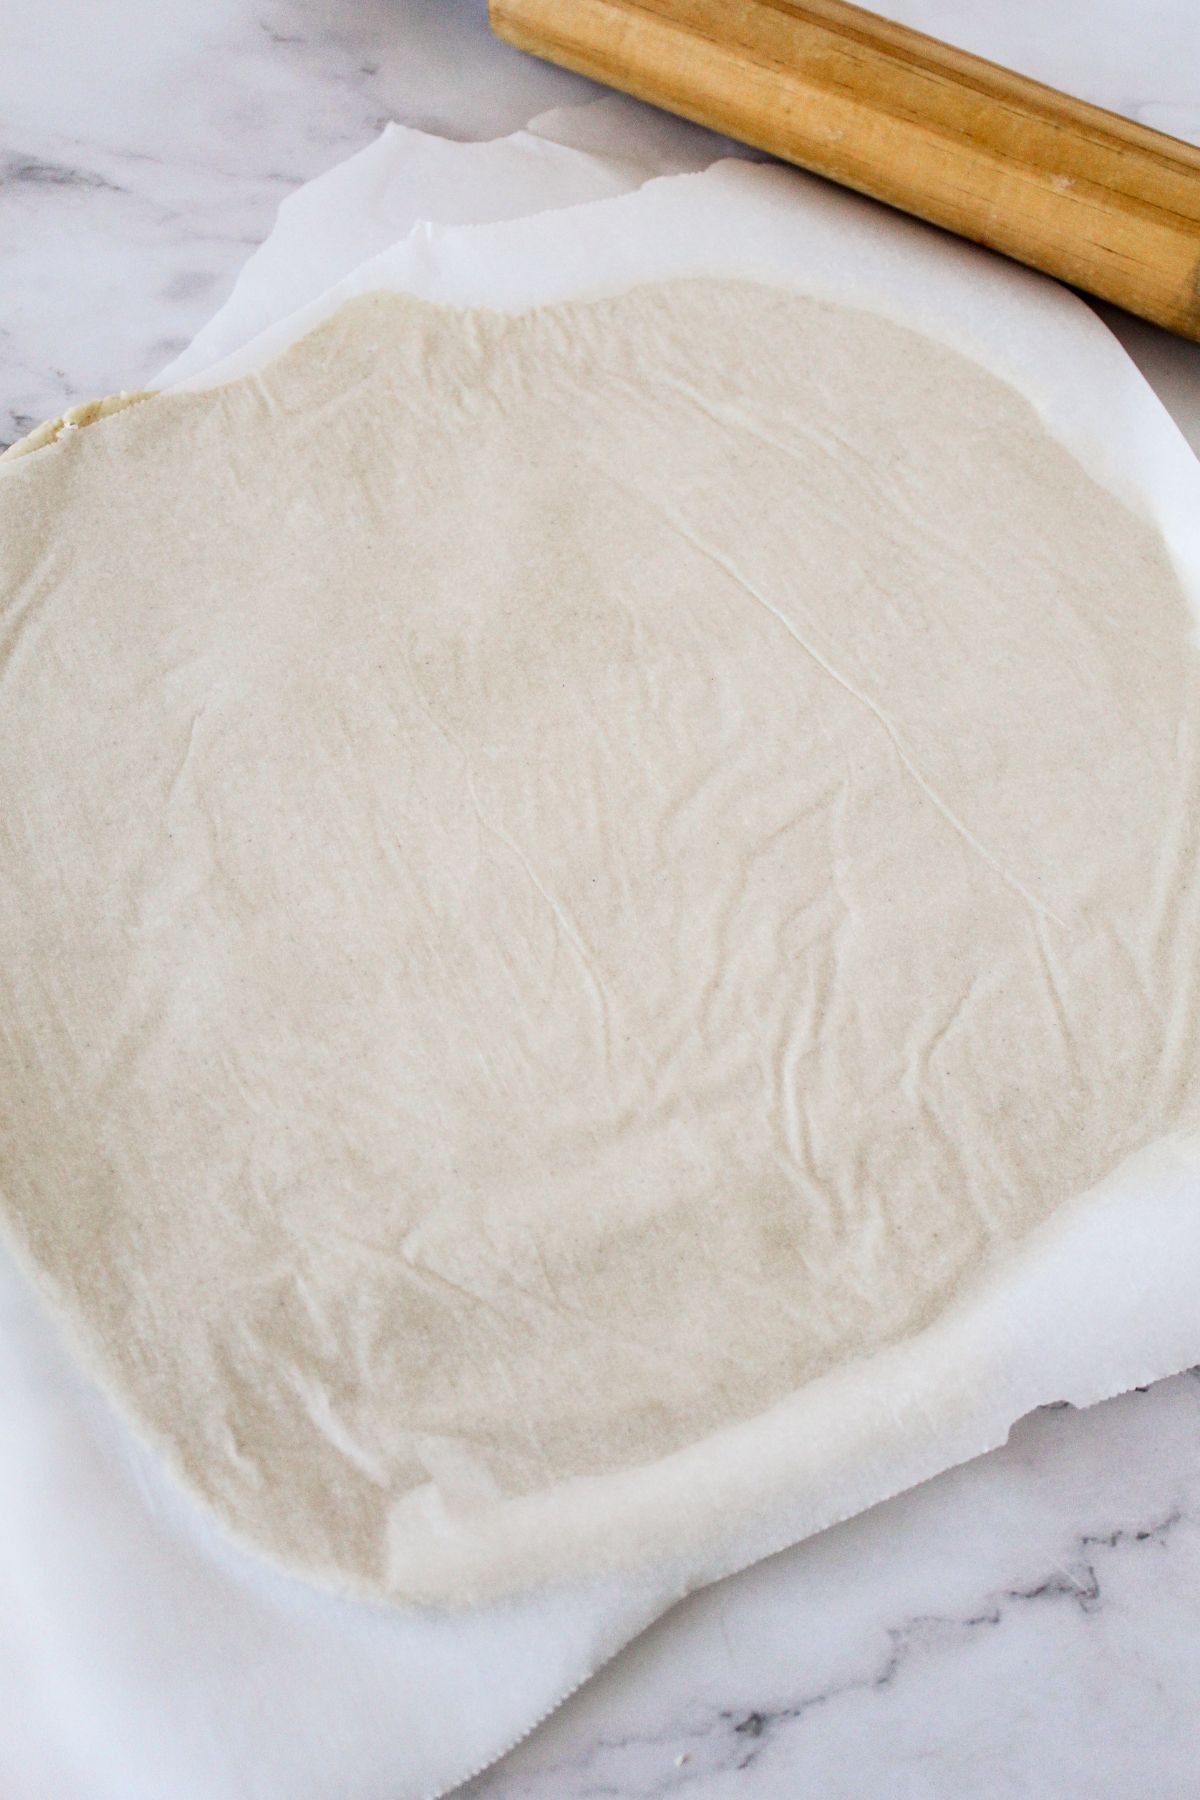
Put another sheet of wax paper on top of the dough. Use a rolling pin to flatten out the dough into a circle shape.
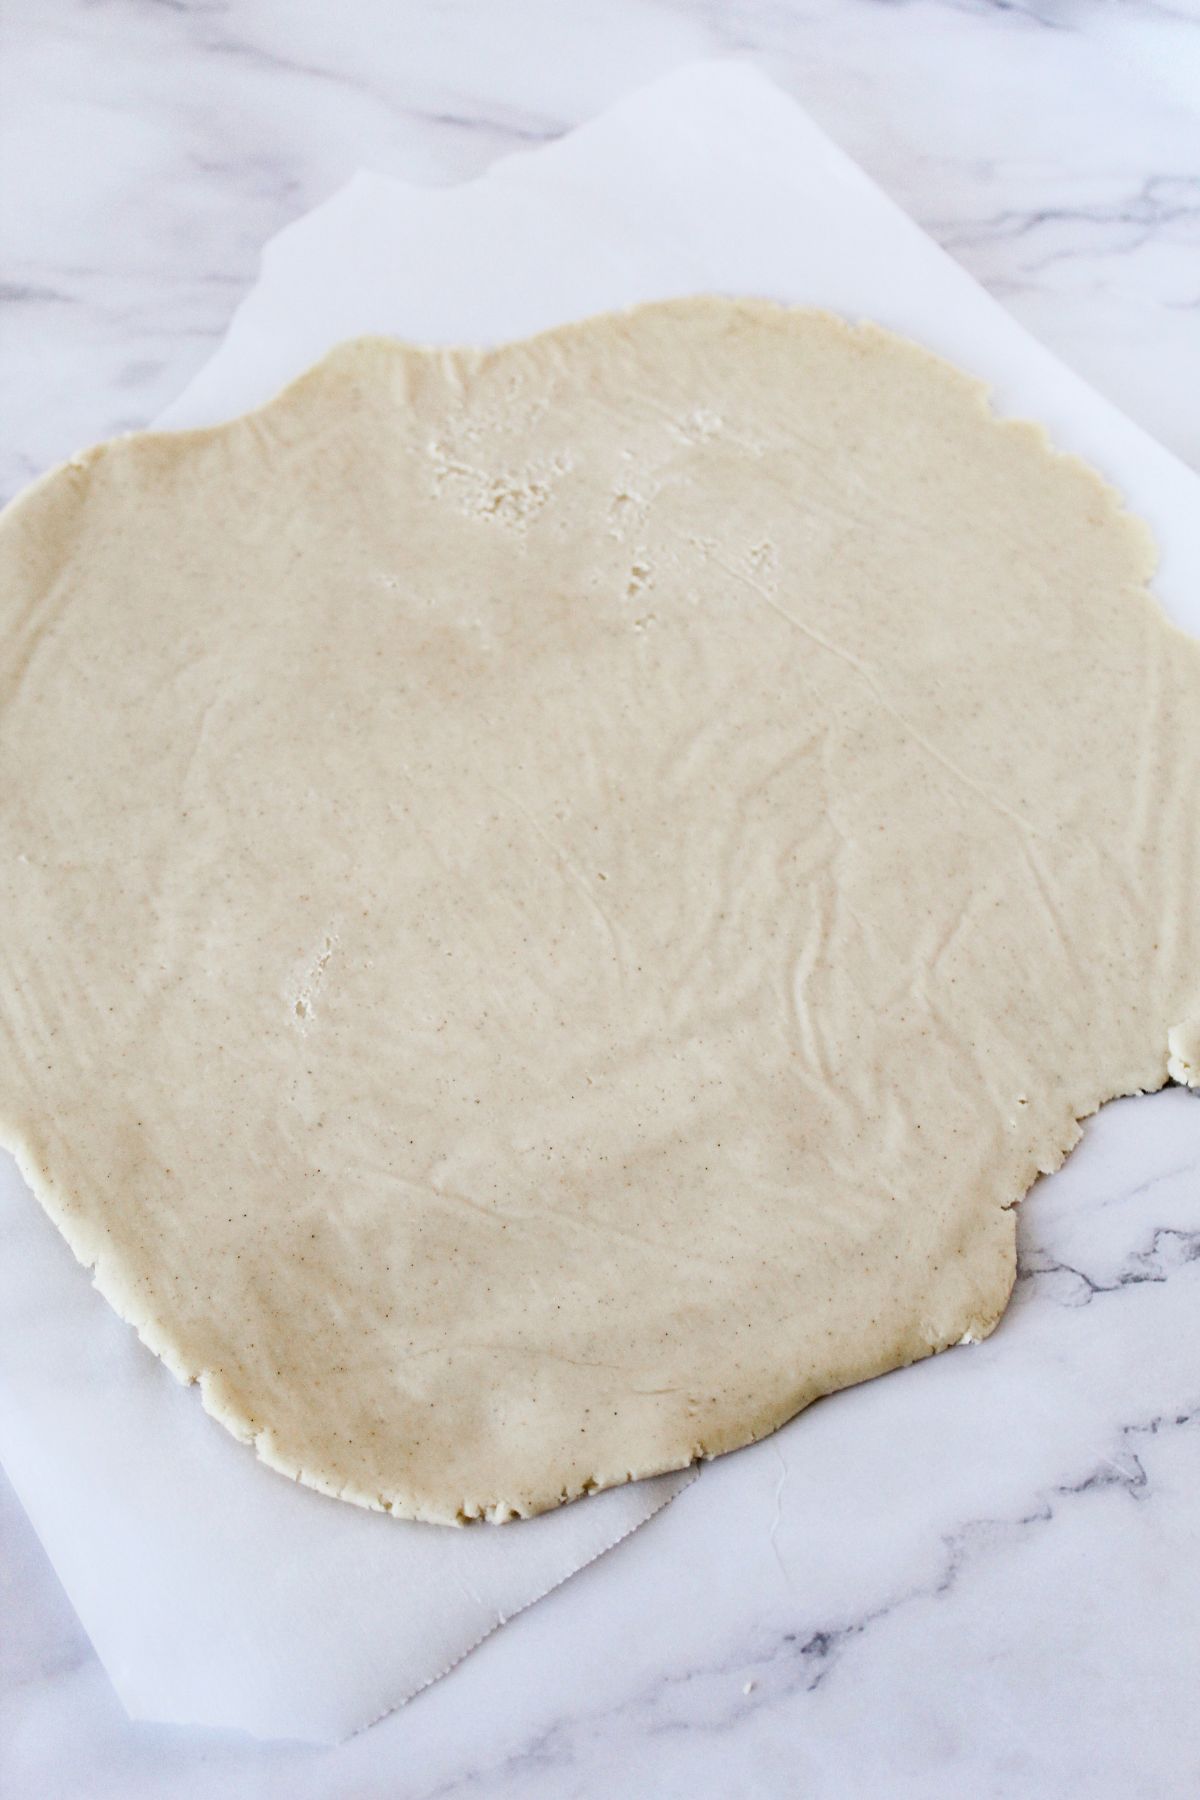
Toss the top piece of wax paper and transfer the rolled out pie dough to your prepped pie plate.
Toss the other piece of wax paper.
Bake Gluten-Free Pie Crust Recipe
Gently press the pie crust into the pie plate. Remove any excess dough that falls over the edges. A nice sharp knife or pastry cutter works best.
Shape the sides of the crust.
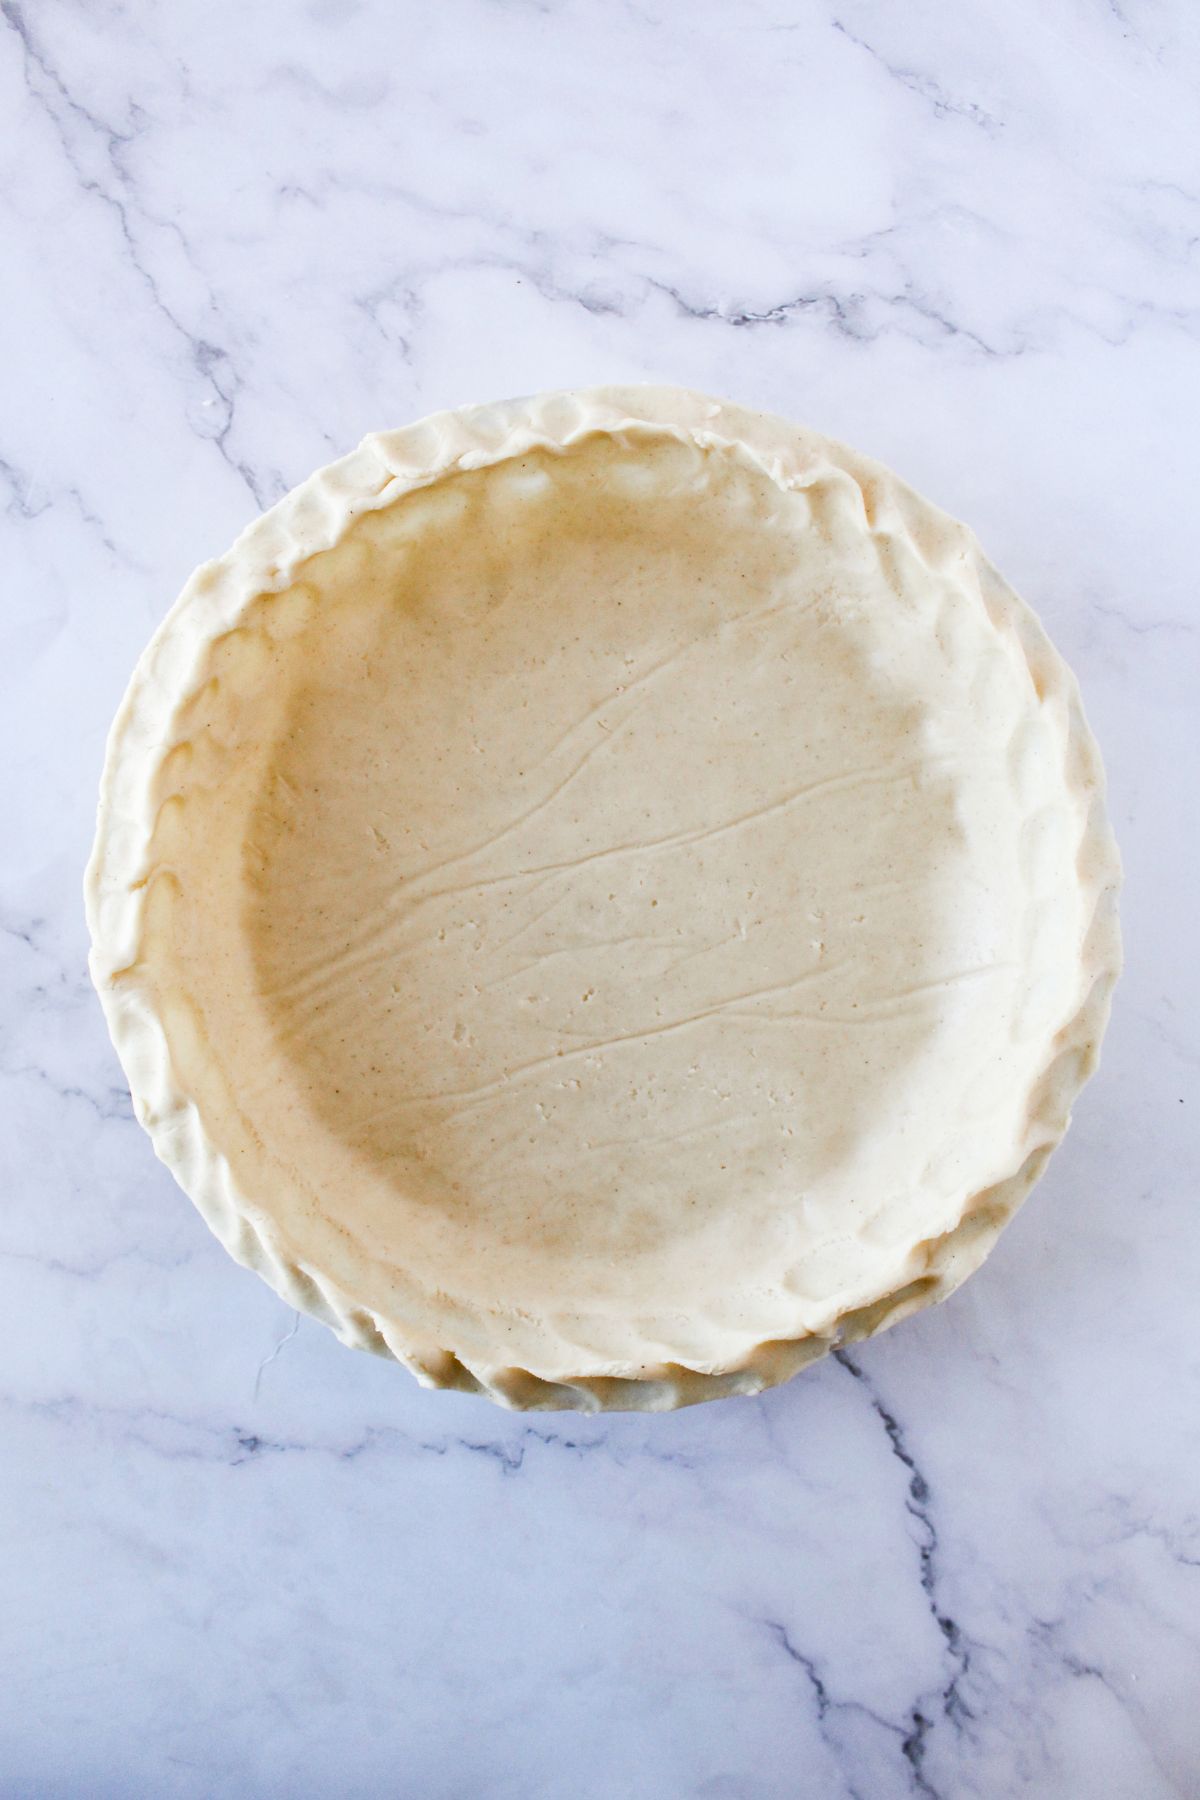
If you have pie weights, you can place them in. Place in the oven to bake for 10 minutes.
Remove crust from oven and pie weights if you used them, and add your pie filling. Bake for an additional 25 minutes with filling, or according to your specific recipe instructions.
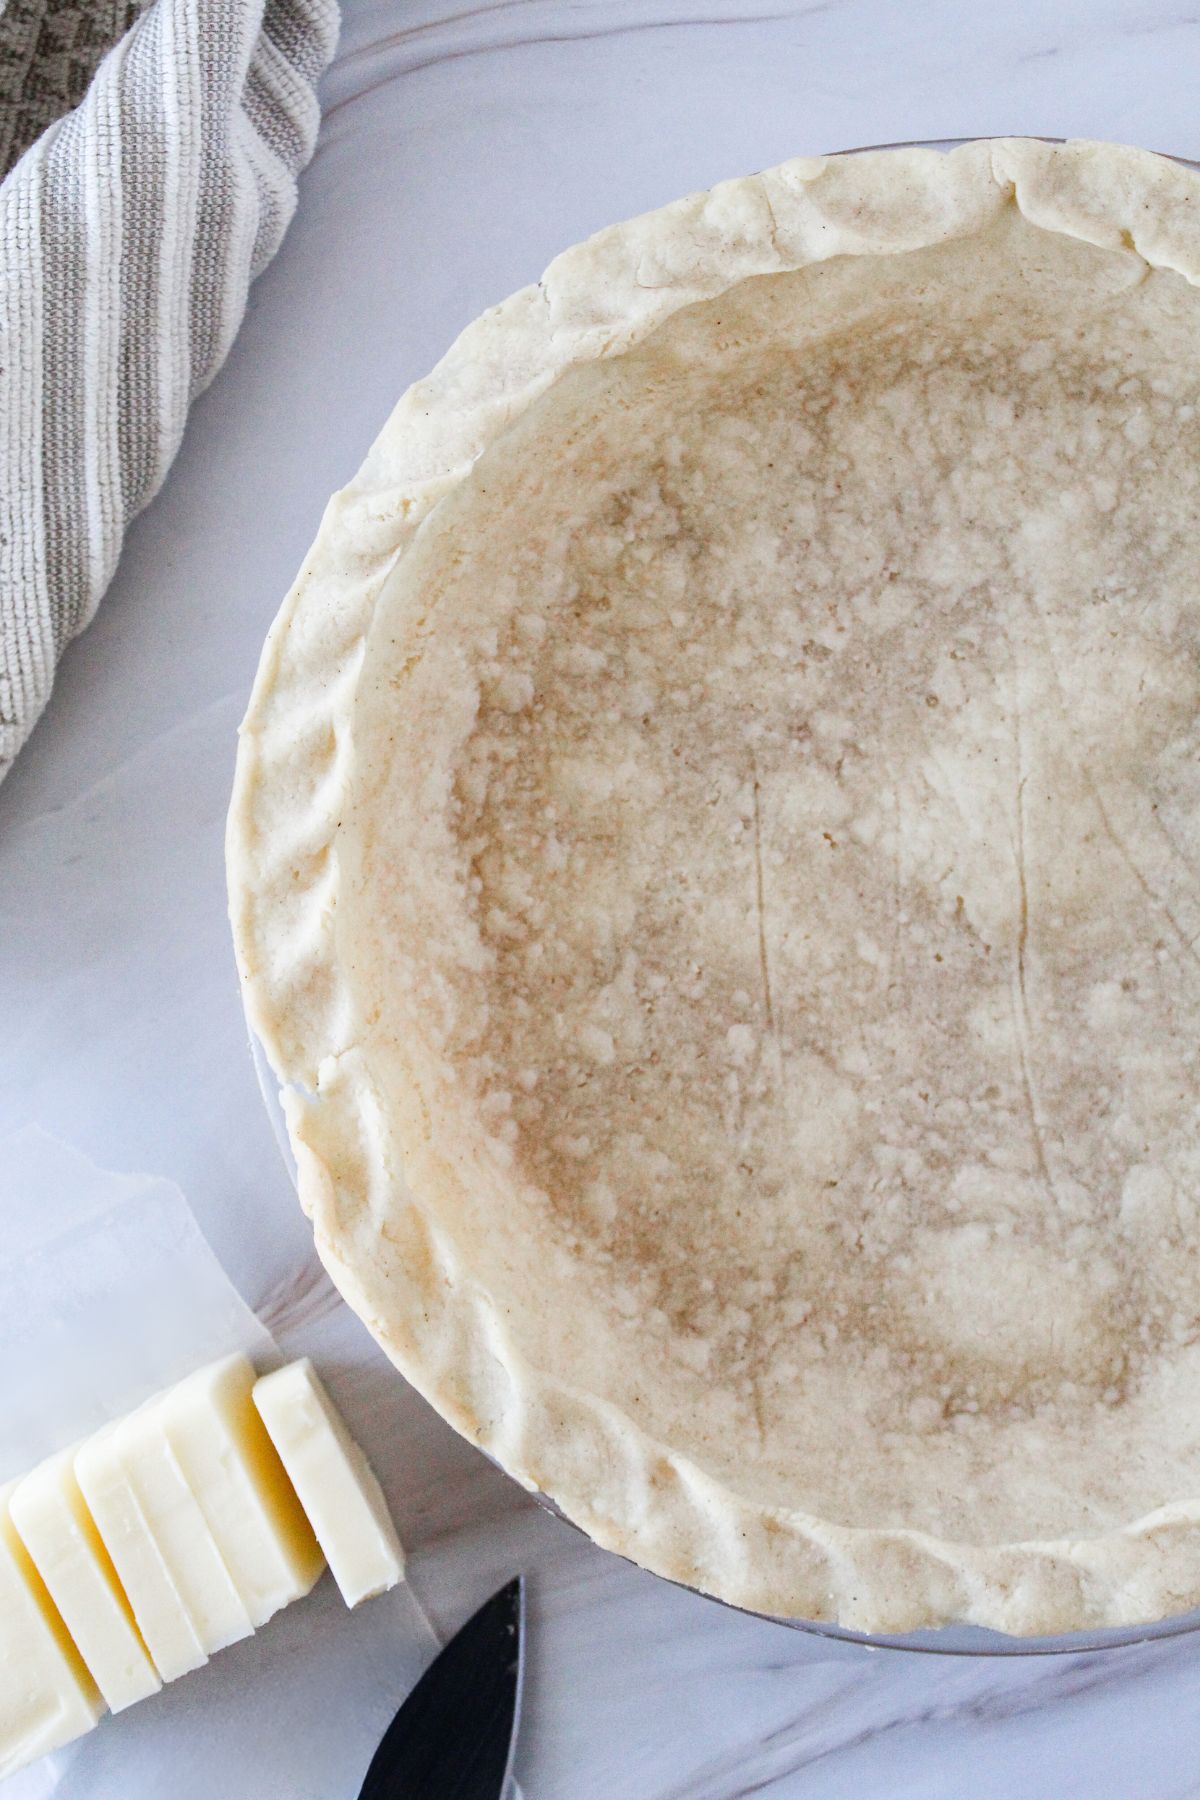
Let pie cool slightly (or to room temperature depending on type of pie) before serving.
Enjoy your pie with a homemade flaky pie crust.
Storage
For best results, cover your pie with plastic wrap and aluminum foil and refrigerate for up to 3 days.
This time frame may change depending on what kind of filling you use.
Pro Tip: If you are making your homemade gluten-free pie crust ahead of time and don't plan on baking it fully with the filling until a later time, bake it for the initial 10 minutes then let it cool to room temperature before covering with plastic and foil or placing it in an airtight container or ziptop bag and refrigerating it for up to 24 hours.
Recipe Tips
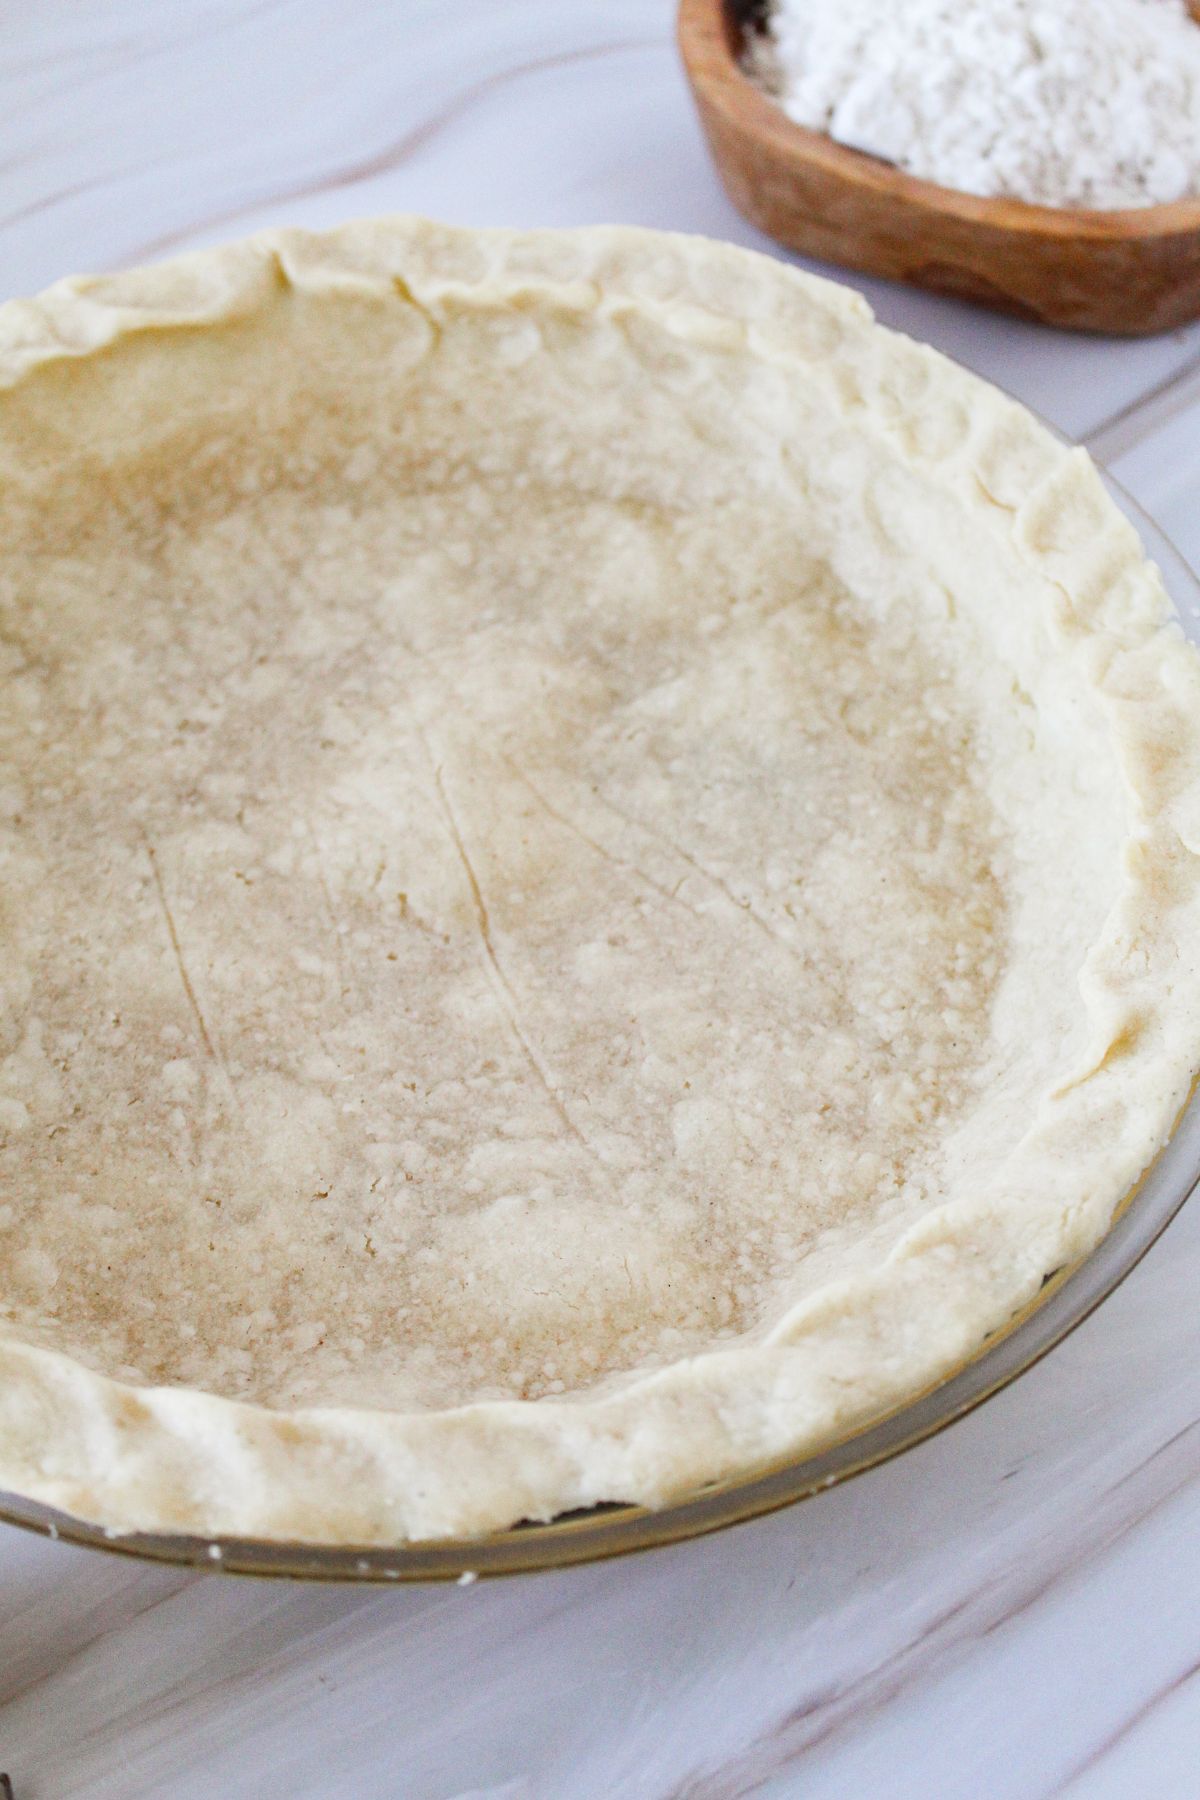
- Check the edges of the pie crust as it bakes. This is especially important with single-crust pies because you don't want the edges to burn before the rest of the dish has time to finish baking. You may need to add foil around the edges.
- If you find that your flaky gluten-free pie crust isn't browning as nicely as you like, you can apply an egg wash or some coconut oil to the tops or edges.
- We don't really recommend using a stand mixer for this recipe because you don't want to overmix your dough and with a stand mixer, it is much easier to do that. If you're heart set on using the stand mixer, we have had better luck using the paddle attachment when mixing everything all together. Just be VERY careful and keep a close eye on it. We have found that mixing by hand or just with a wooden spoon and the bowl works the best for us.
- Make sure all your ingredients are very cold, including the dairy-free butter. Cold ingredients help create a flakier texture.
- Avoid overworking the dough. Mix it until it just comes together, then stop. Don't play with it. Overmixing the crust can result in a tougher crust.
- While not absolutely necessary, if you don't get a flaky crust the first time you make this crust. The next time, you can chill the dough before rolling it out. This allows the fat in the crust to firm up a little better, resulting in a flakier crust when baked.
- Remember, practice makes perfect, so don't be discouraged if your first attempt isn't perfect.
- Keep experimenting and tweaking the recipe if needed, until you achieve the desired results.
- Enjoy your homemade gluten-free and dairy-free pie crust!
Recipe Variations
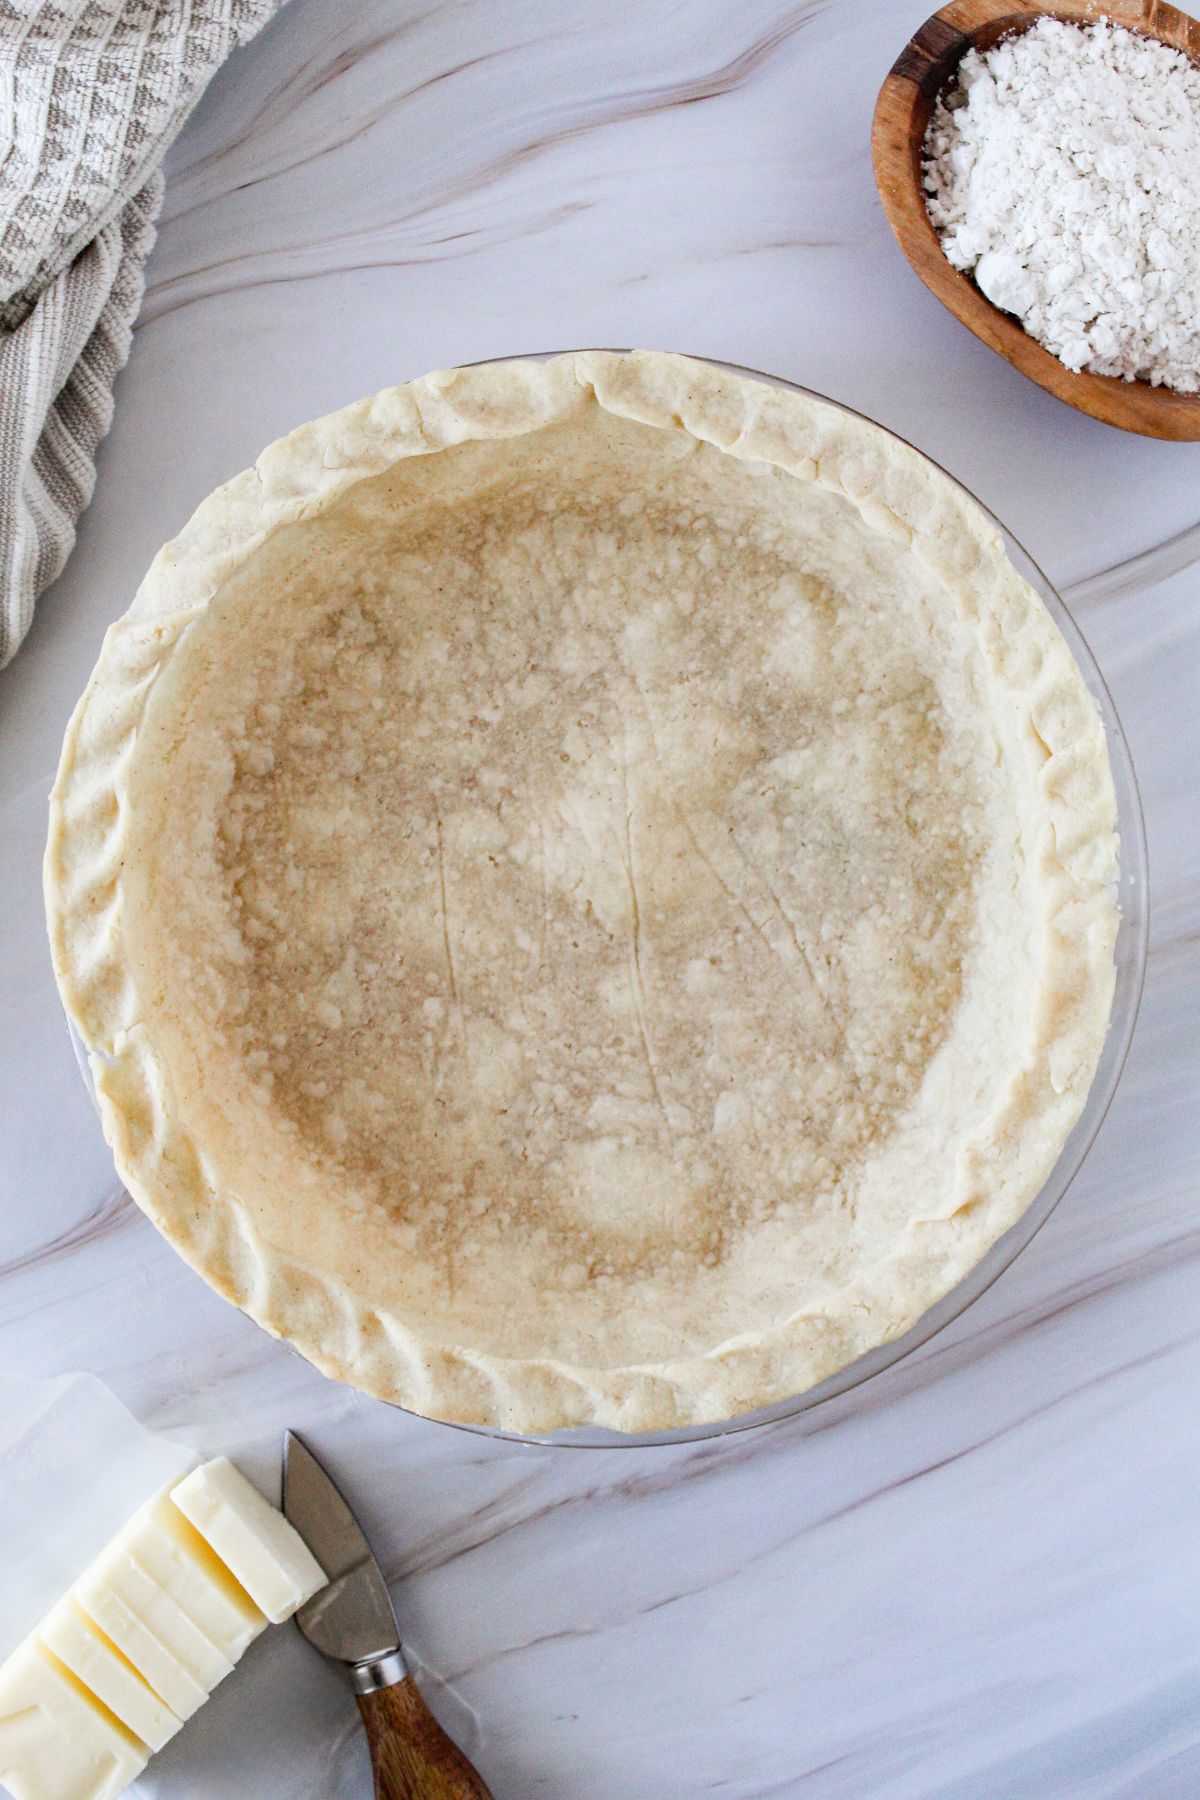
There are plenty of variations and additions that can be made to the basic gluten-free and dairy-free pie crust recipe.
- Spiced Crust: Incorporate cinnamon or nutmeg into the crust for added flavor (double-check your spices for any hidden gluten or dairy, since some manufacturers add them without warning).
- Chocolate Crust: Add a tablespoon or two of dairy free cocoa powder for a chocolatey twist.
- Nutty or Coconut Crust: Mix in finely chopped nuts or shredded coconut for added texture.
Frequently Asked Questions
Yes! Prepare the dough according to the recipe instructions, form it into a disk shape, and wrap it tightly in plastic wrap. You may also want to place the wrapped dough in a freezer-safe container or zip-top bag.
Freeze it for up to three months. When you're ready to use it, thaw the crust in the refrigerator overnight before rolling it out and baking according to directions.
Pie weights help prevent the crust from puffing up or shrinking while it bakes. When you blind bake a crust (baking it without a filling), trapped air can cause it to lose its shape or collapse – pie weights hold it in place so it keeps its flaky texture and shape.
They can be made of ceramic, metal, or even dried beans or rice. Simply place them on top of the crust before baking, then remove them once it's fully baked and proceed with filling the pie. But don't worry if you don't have any – you can still get a nice crust without them.
Yes – just double this crust recipe. Use it as written for the bottom crust, then make a second batch for the top crust and place it over the filling after the bottom crust has baked a bit.
Depending on the filling, you may need to cut a few slits in the top to let steam escape. Bake according to directions until the top turns a nice golden brown, covering the edges with foil if they start to brown before the top finishes baking.
Plenty! Popular options include fruit fillings like apple, cherry, or blueberry, as well as pumpkin or sweet potato for fall-inspired pies. Custard-based fillings like coconut cream or chocolate pudding are great too.
You can also use this crust to make homemade calzones, galettes, mini chicken pot pies, and more!
Baking the crust for 10 minutes first (parbaking) helps make sure you don't end up with a soggy crust after you add your filling and finish baking the whole pie together.
Pin It For Later
More Gluten and Dairy Free Desserts From Scratch
Gluten Free Pie Crust (Dairy Free too)
Ingredients
- 1 ½ cups gluten-free flour see brand suggestions in post
- ¼ teaspoon salt
- 9 Tablespoons dairy free butter see brand suggestions in post- can use regular butter if you aren't dairy free
- 1 large egg
- 1 teaspoons lemon juice
- ¼ cup water optional 1 to 4 additional Tablespoons if needed
Instructions
Prep and Mix the Crust Dough
- Start by preheating the oven to 350F. Grease or butter your pie pan and set it to the side.
- In a large mixing bowl, add all of the dry ingredients and stir to combine.
- Add in the cubed butter and mix.
- In a separate large bowl, add the wet ingredients and combine together.
- Carefully, add the wet ingredients to the dry ingredients and mix to combine. It should start to form a dough if it's too dry, add a Tablespoon of cold water and check the consistency. If still dry, add another Tablespoon and check again. Repeat until you get your desired consistency- you want it to feel like Play-doh.
Roll Out The Pie Crust Dough
- Place a piece of wax paper on your clean work surface. Work the dough into a ball and put the dough on the wax paper.
- Put another sheet of wax paper on top of the dough. Use a rolling pin to flatten out the dough into a circle shape.
- Toss the top piece of wax paper and transfer the rolled out pie dough to your prepped pie plate.
- Toss the other piece of wax paper.
Bake Gluten-Free Pie Crust Recipe
- Gently press the pie crust into the pie plate. Remove any excess dough that falls over the edges. A nice sharp knife or pastry cutter works best.
- If you have pie weights, you can place them in. Place in the oven to bake for 10 minutes.
- Remove crust from oven and pie weights if you used them, and add your pie filling. Bake for an additional 25 minutes with filling, or according to your specific recipe instructions.
- Let pie cool slightly (or to room temperature depending on type of pie) before serving.
- Enjoy your pie with a homemade flaky pie crust.
Notes
- This recipe makes one pie crust which typically makes 8 servings of pie with the filling.
- This recipe nutrition part was calculated with an app that typically doesn't use as much gluten free and dairy free ingredients. Use your own app where you can put your specific brands in it to find more accurate info.
Nutrition
Nutritional Disclaimer
These Nutritional Facts are ESTIMATED. Your actual nutritional info with this recipe may vary depending on the brands you choose. “Eating Gluten and Dairy Free” is not a registered dietician or nutritionist. The provided nutritional info above is based on a generic calculator, if you want more accurate info, use your nutritional calculator of choice where you can choose brands and get more info that way.
Never Run Out of Safe Recipes
Loved this recipe? Our cookbooks are packed with tested, family-approved gluten & dairy free recipes so you never have to hunt for a safe one again. The Holiday Recipes Cookbook has 50+ recipes for every season, and The Classics has our all-time family favorites.