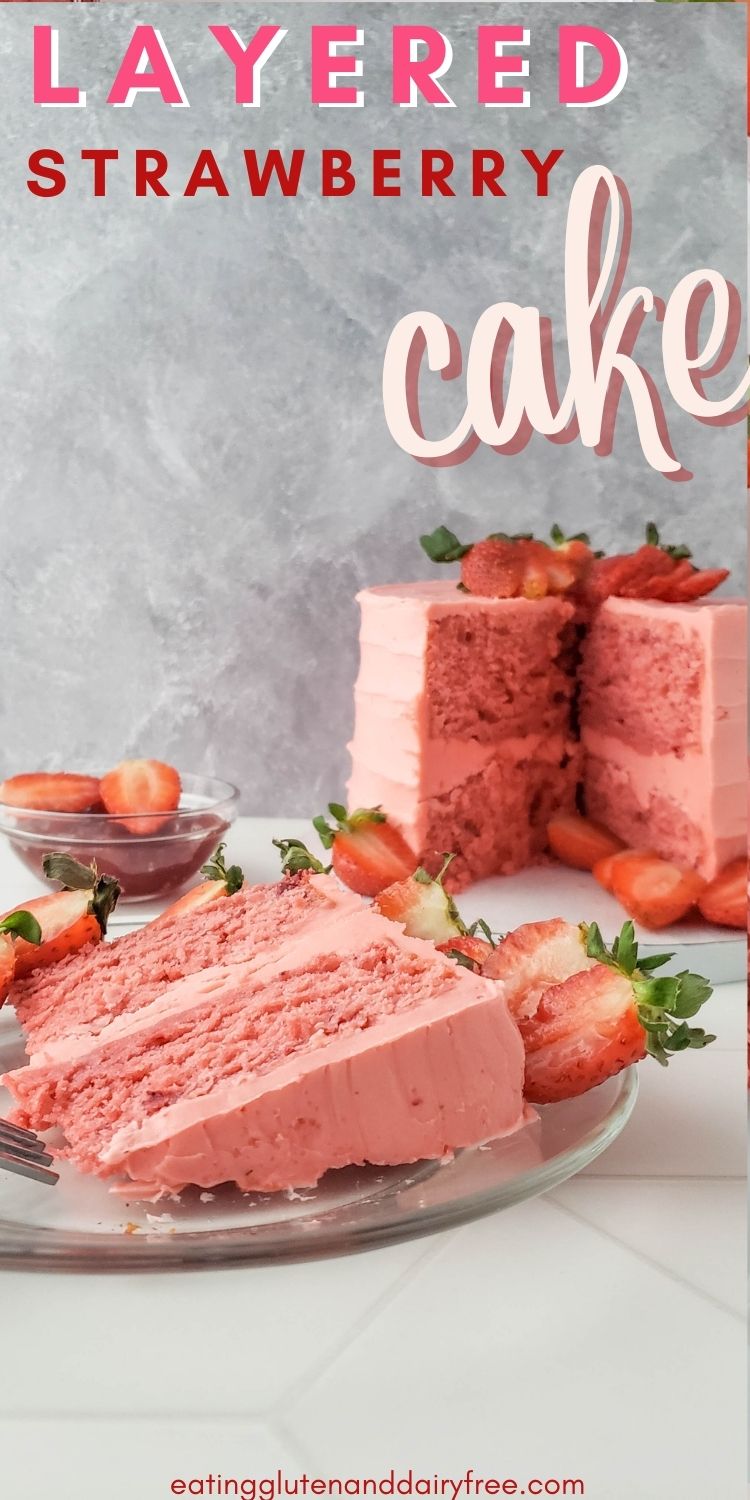
Layered Strawberry Cake
This post may contain affiliate links. As an Amazon Associate, and through other affiliate programs, I earn a small commission from qualifying purchases — at no extra cost to you. I only ever recommend products I use and love. See our full disclosure policy for details. Thank you for supporting Eating Gluten and Dairy Free!
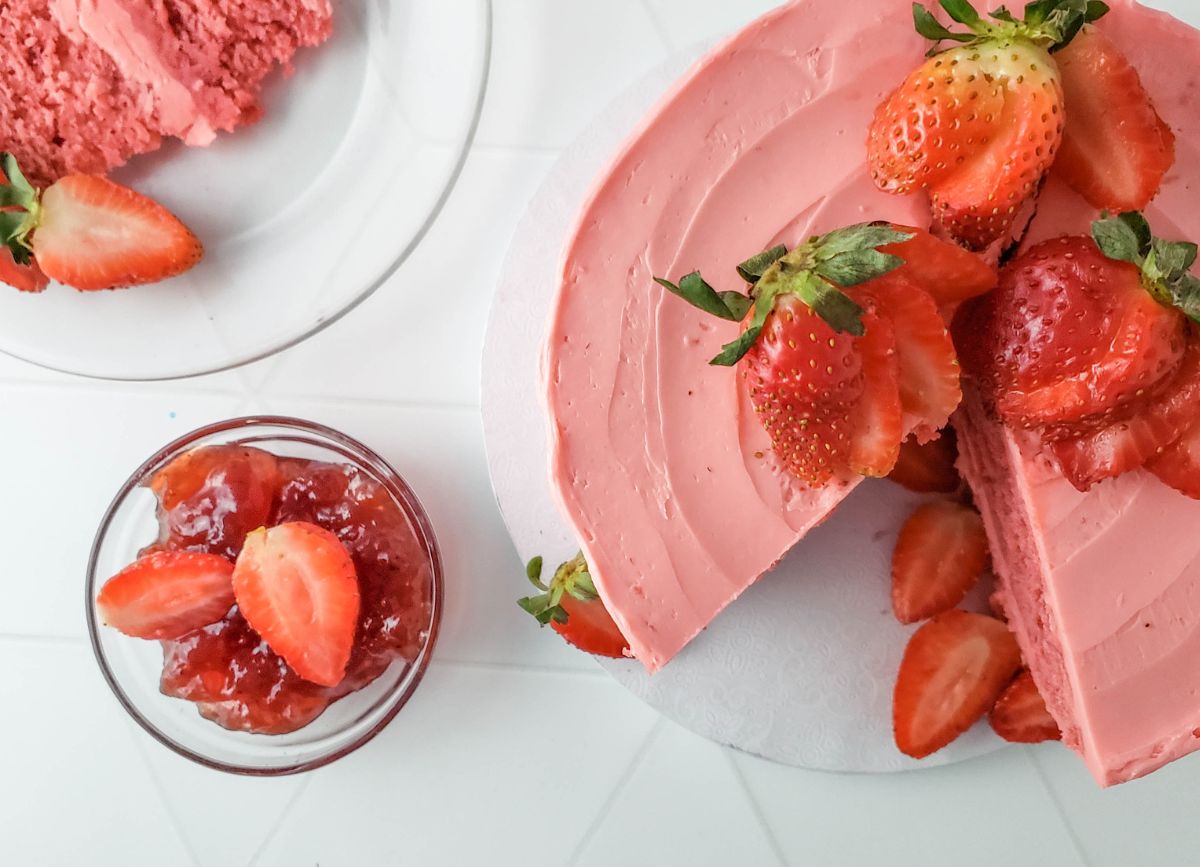
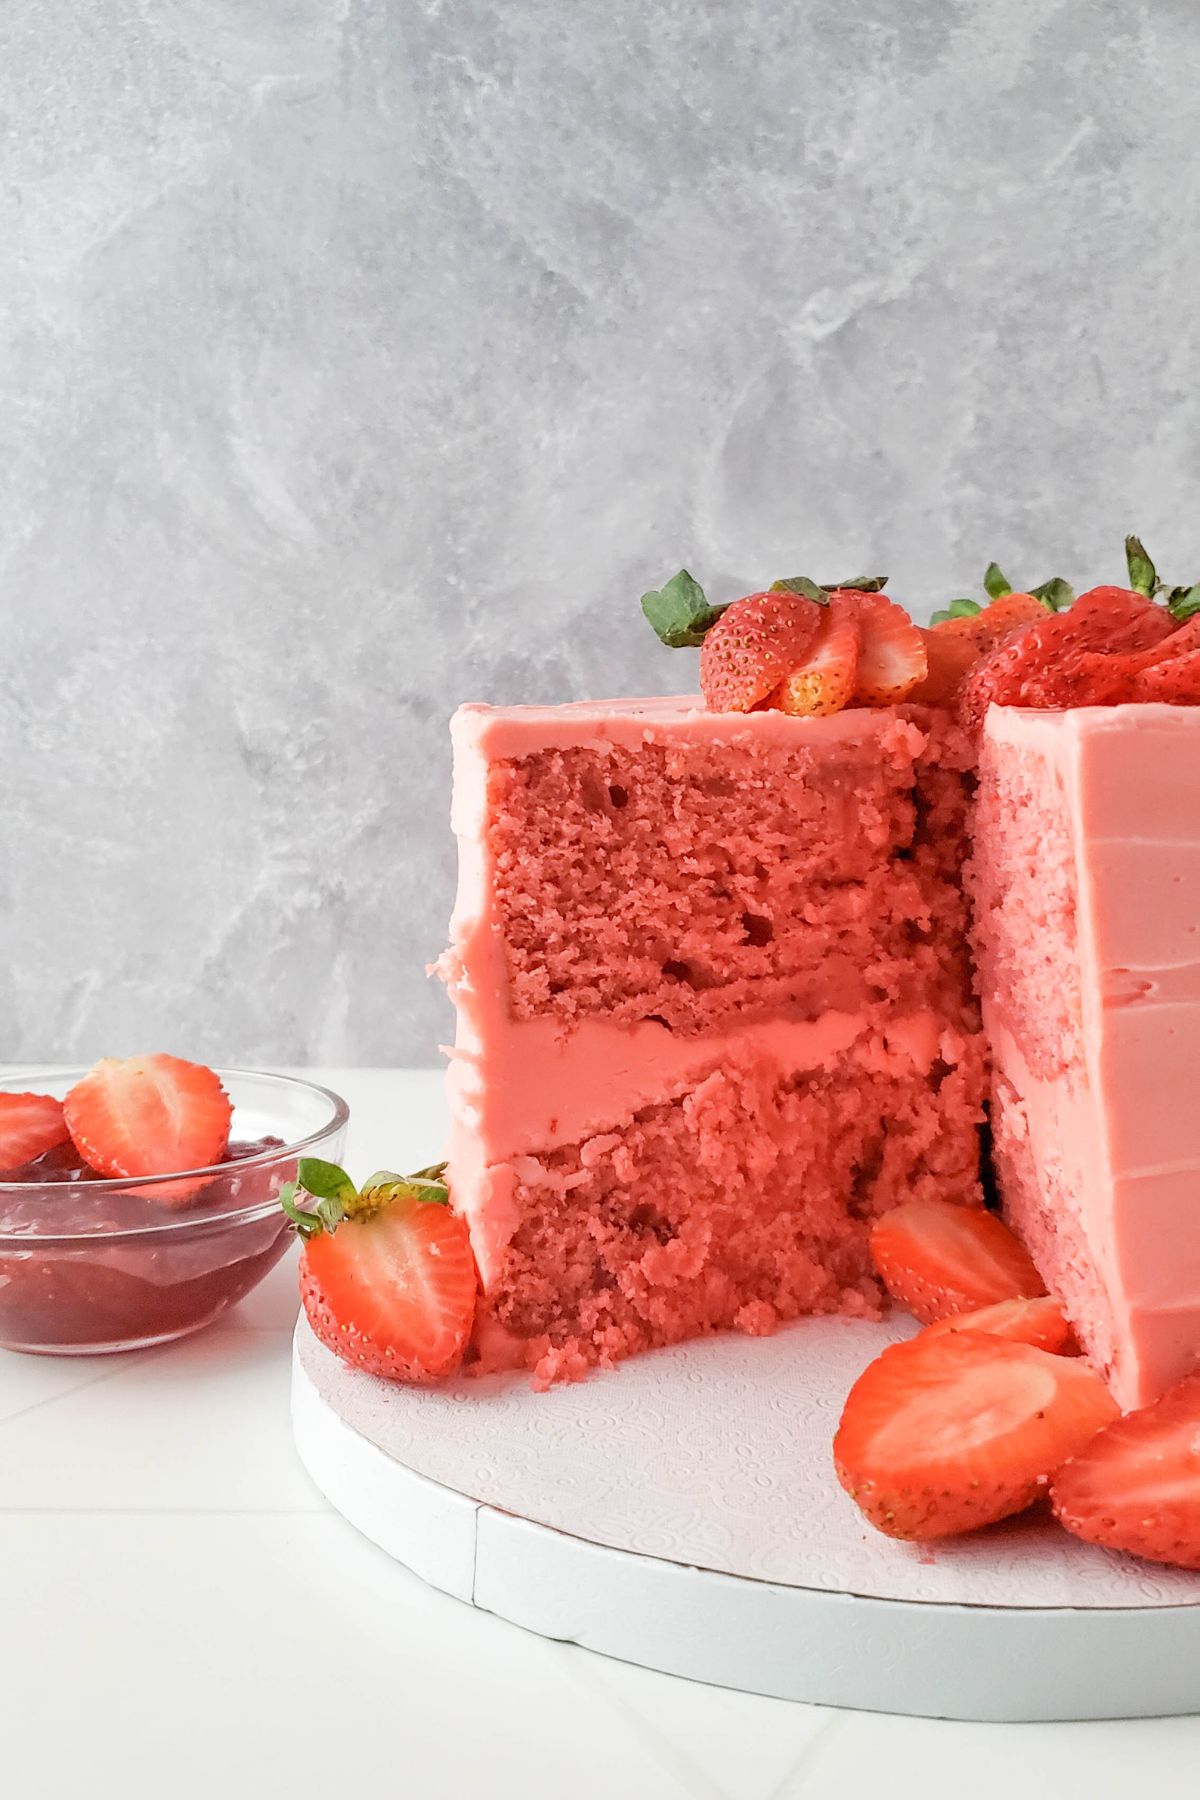
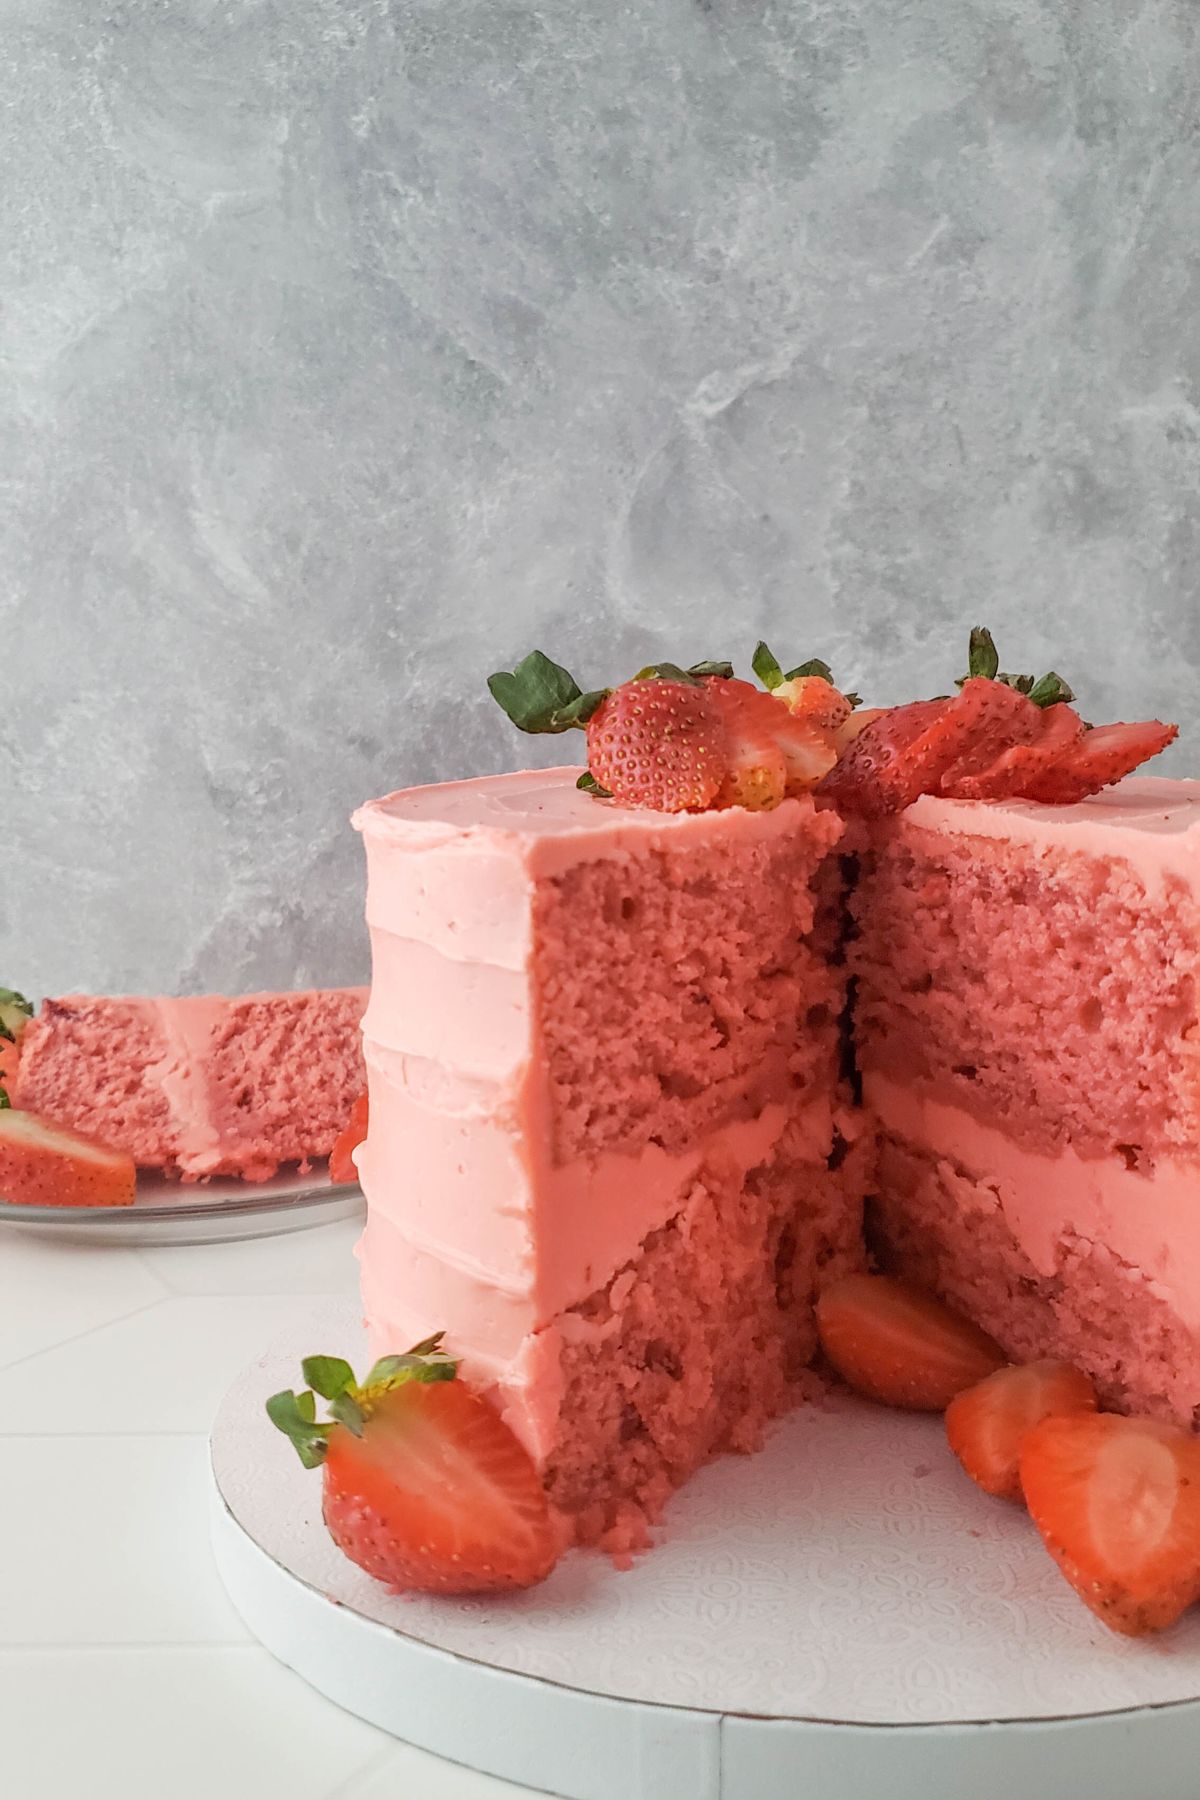
This Layered Strawberry Cake is so delicious and the perfect treat for any strawberry lover. Perfect to celebrate Valentine’s day, birthdays, or any special occasion this is a truly tasty cake that is packed full of strawberry flavor.
Who would have thought you could put together a layered strawberry cake from scratch but we are here to tell you that you can, it is dairy-free and gluten-free, tastes incredible, and looks amazing. This cake really does tick all of the boxes.
The strawberry pie filling gives this cake an edge and the strawberry buttercream builds on the flavor. It is a pink cake of goodness ready to be enjoyed.
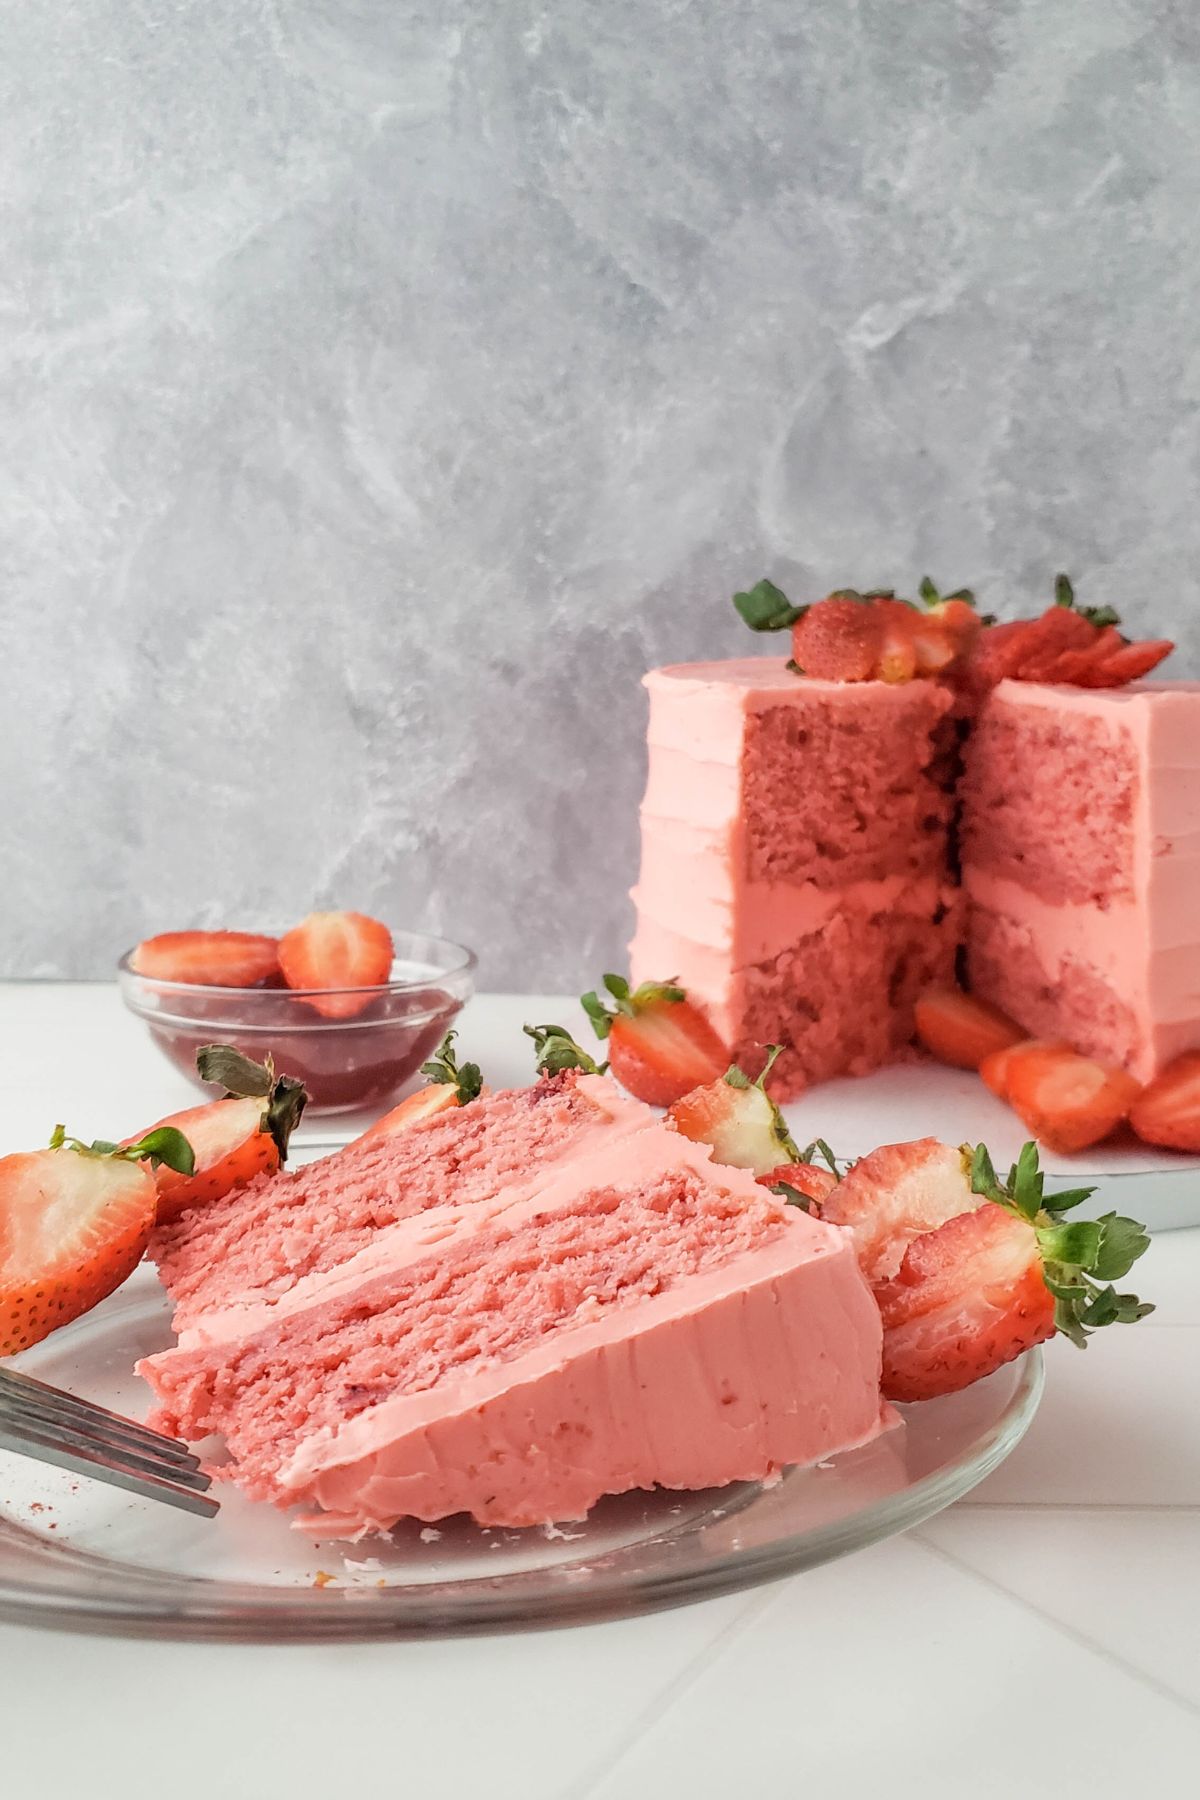
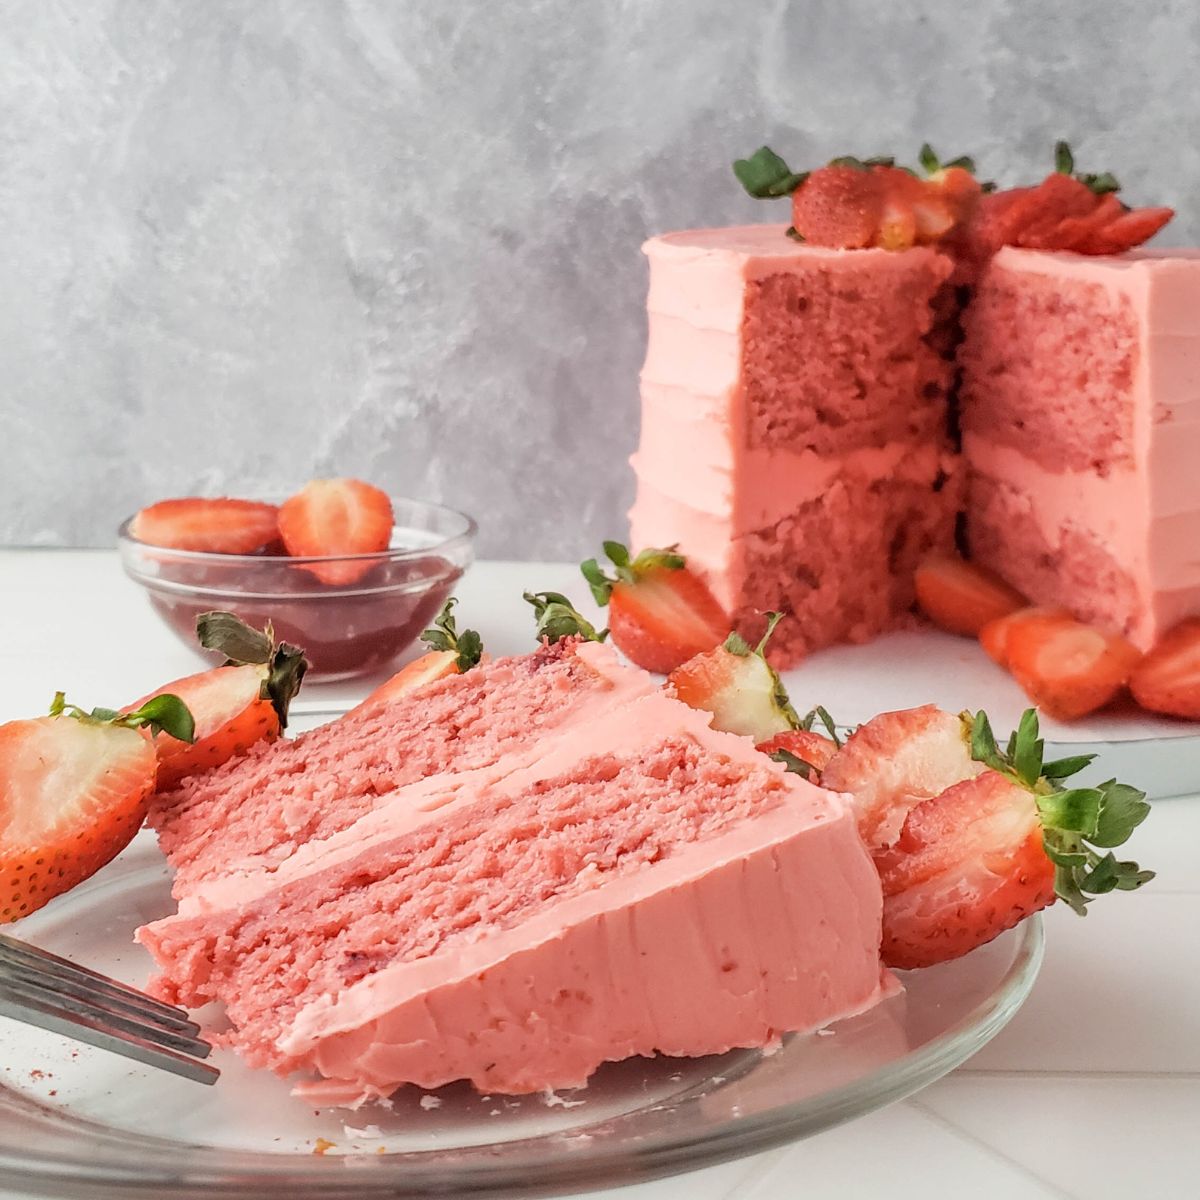
The perfect cake for Valentine’s day or any special occasion is a dessert that has the wow factor. A real crowd-pleaser not just on how it looks but on how it tastes.
The fluffy cake topped with strawberry frosting is simple to make and doesn’t require a long list of ingredients. It will definitely become a family favorite. This is one of the best strawberry cake recipes we have shared for some time.
We love to share other recipes with you and we could not tell you about the Strawberry Poke Cake recipe. Vanilla cake with strawberry jello, what’s not to like? You may also love our Lemon Raspberry Cake- YUM 🍰
❤️ Why You’ll Love This Layered Cake
- Safe to enjoy - All ingredients and they're all gluten and dairy-free giving you peace of mind knowing it's safe AND delicious
- Kid-friendly - Most children love cake and strawberries. So it is a winning combination for everyone involved.
- Crowd-pleaser - It looks impressive and it's not too hard to make.
- Easy to make - Not overly complicated and is truly an easy strawberry cake recipe to follow.
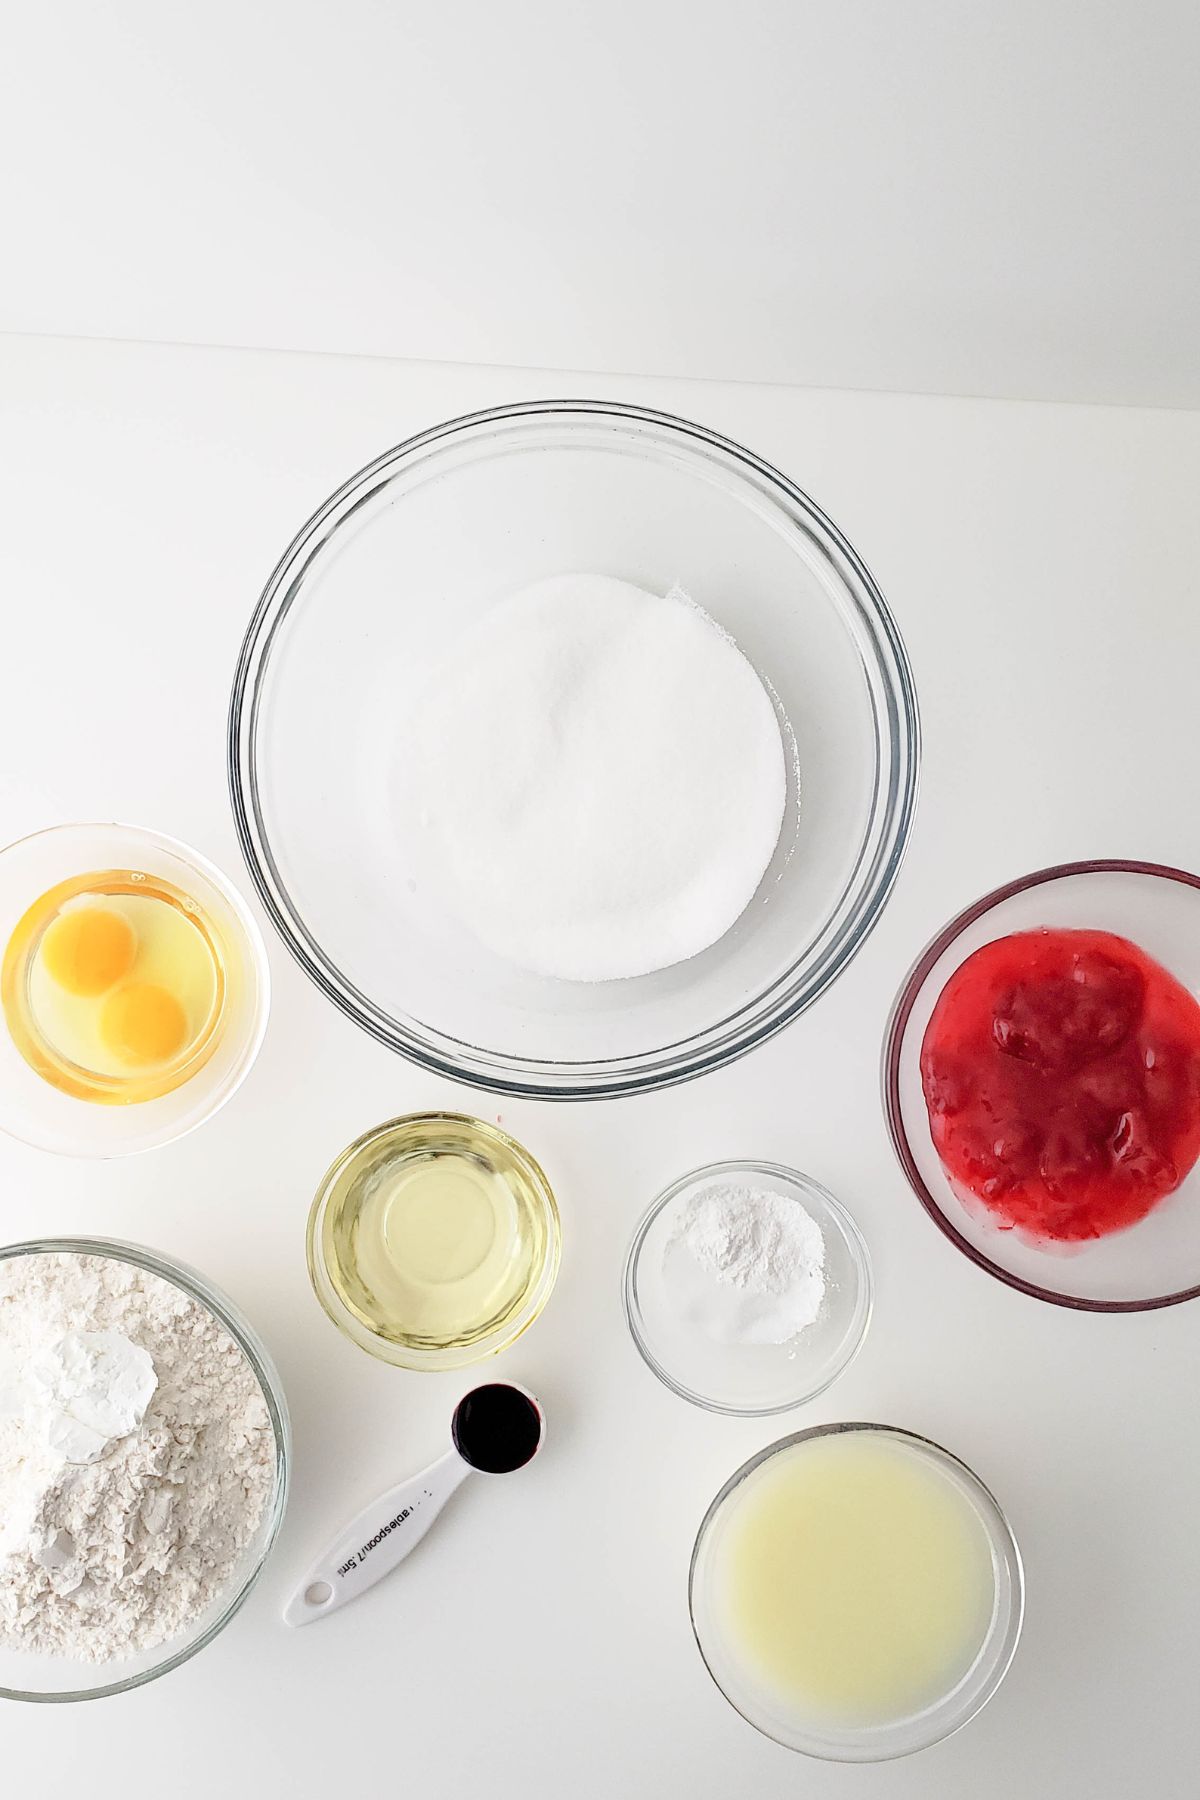
Ingredients Notes (get more info in the recipe card below)
This section is where we share brands on we use. Get more info, like quantities of ingredients, with instructions for the recipe in the recipe card (with printing option) at the bottom of the post.
Cake batter
- Gluten-free cake flour- We recommend either Steve’s gluten-free cake flour or could also use Bob’s Red Mill 1-1 Baking Flour. We also find that using a rice flour for your cake turns out nicely. You may need xanthan gum if your flour doesn't have it.
- Cornstarch
- White cane sugar
- Baking powder- always check that you're using fresh baking powder.
- Salt- we typically use kosher salt, but you can use table salt, sea salt, etc.
- Eggs - large eggs
- Strawberry pie filling- We use Lucky Leaf Strawberry Pie filling. The can says gluten free and dairy free right on it. You can see more about their brand and product info by visiting the Lucky Leaf website.
- Strawberry extract- this is our favorite strawberry extract. It's gluten free, vegan, non-gmo, kosher and allergen free! Definitely a winner in our kitchen. Get more info on their product and their dietary accommodations by visiting their products on their website.
- Vegetable oil- this can be swapped out for olive oil if preferred.
- Dairy free buttermilk - We use this dairy-free milk and vinegar for this. You can also use soy milk or coconut milk if you prefer.
Buttercream Frosting
- Dairy-free butter- Again, we prefer to use Earth Balance Soy Free Buttery Sticks that are soy free and vegan too. They make a spread, but we find the sticks are easier to bake with.
- Powdered sugar- naturally gluten free
- Strawberry extract- I shared above why we like to use Cook's extracts.
Helpful Tools
How To Make A Gluten and Dairy Free Strawberry Cake
- Preheat your oven to 350 degrees. Lightly grease cake pans or add parchment paper to stop them from sticking to the pan.
- In a large mixing bowl add the eggs, sugar, oil, and strawberry extract. Begin mixing until combined. Make sure you take time to scrape down the sides of the bowl.
- Combine the cornstarch, gluten-free flour, salt, and baking powder in a bowl. Give the ingredients a good whisk.
- Taking your egg mixture, alternate adding the flour mixture and milk into it. Mix all of the ingredients together until they are well combined. Add the strawberry pie filling and mix well. Don’t exceed 1 ½ minutes as this will knock out the air in the cake batter.
- Pour equal amounts into two 6-inch round cake pans. Bake at 350 degrees for around 40 minutes. A great tip is to check the cakes with a toothpick. It should come out clean, if not, bake for an additional 2 minutes.
- Allow cooling on the wire rack for 10 minutes before removing the cakes from the pans and placing them on the wire rack to cool completely.
- While the cakes are baking, mix the dairy-free butter, powdered sugar, and strawberry extract until creamy and smooth. Cover and allow to rest while the cake cools completely.
Decorating the strawberry layer cake
- Place one of the cakes on a decorative cake board or cake drum. Using the angled or offset spatula, add some of the buttercream on top of one of the cakes. In a back-and-forth motion, spread gently to cover the cake across the top of the cake. This is the cake filling.
- Place the second cake layer on top of the cake with the buttercream. Make sure it is top-side down. Press gently as this can help remove some of the air pockets that may develop.
- Place more buttercream on the cake and gently work back and forth to spread evenly and get a smooth layer. You will also want to spread the buttercream across the sides of both cakes.
- Use the angled spatula to smooth as much as possible or make slight ridges by turning the cake on the turn table.
- Your homemade strawberry cake is ready to serve.

Recipe Variations
Add to the filling. You could always add some strawberry jam to the middle layer of the cake. The buttercream and jam combo will taste amazing.
Can’t get hold of strawberry pie filling? You could add fresh berries or frozen strawberries to the cake mix itself. It won’t be as pink in color, but that’s nothing a bit of red food coloring couldn't sort. (If you're trying to find some natural food coloring without all the gross red dye- try Watkins Artificial Dye Free Food Coloring. Anytime we can ditch the Red40 and other ick food dyes, we are ALL about it!)
Make it boozy. You could add a drizzle of strawberry liqueur to the strawberry cake layers before the buttercream. This will make the cake extra moist.
Add more strawberry flavor. If you still think this cake needs more strawberry flavor then you could drizzle some reduced strawberry puree amongst the beautiful cake layers. This could make a marble effect as you cut into it.
Swap out the strawberry extract. If you want to vary the flavor then you could use vanilla extract instead. Cooks has quite the collection of flavored extracts, be sure to check them out.
Tips & Tricks
- Before adding the buttercream to the cakes make sure they have cooled completely. Otherwise, it will get very messy.
- If you are using your stand mixer for this recipe then the whisk attachment is best for the buttercream but the paddle attachment will help with the cake mixture.
- All ovens are different so cooking time might vary. The best advice is to keep an eye on it and use the toothpick method to determine if they are baked.
- When measuring out your gluten-free flour we like to use a spoon and a knife to level it off. This way we don’t get too much when trying to get the right quantity. Baking is all about precise measurements.
- Use a large serrated knife to help cut the cake layers and remove the cake tops.
- Always check your ingredients to ensure that they are still gluten and dairy free. Some Manufacturers are adjusting things without making it wide known that they changed ingredients.
Storage
This moist cake can be left at room temperature and covered for up to three days. Or, if you prefer, you can store it in the refrigerator for up to seven days.
Just make sure it is covered with plastic wrap or in a cake-saver container. Avoid placing an uncovered cut cake in the refrigerator as it will dry the cake out and it can absorb other odors in there.
FAQ
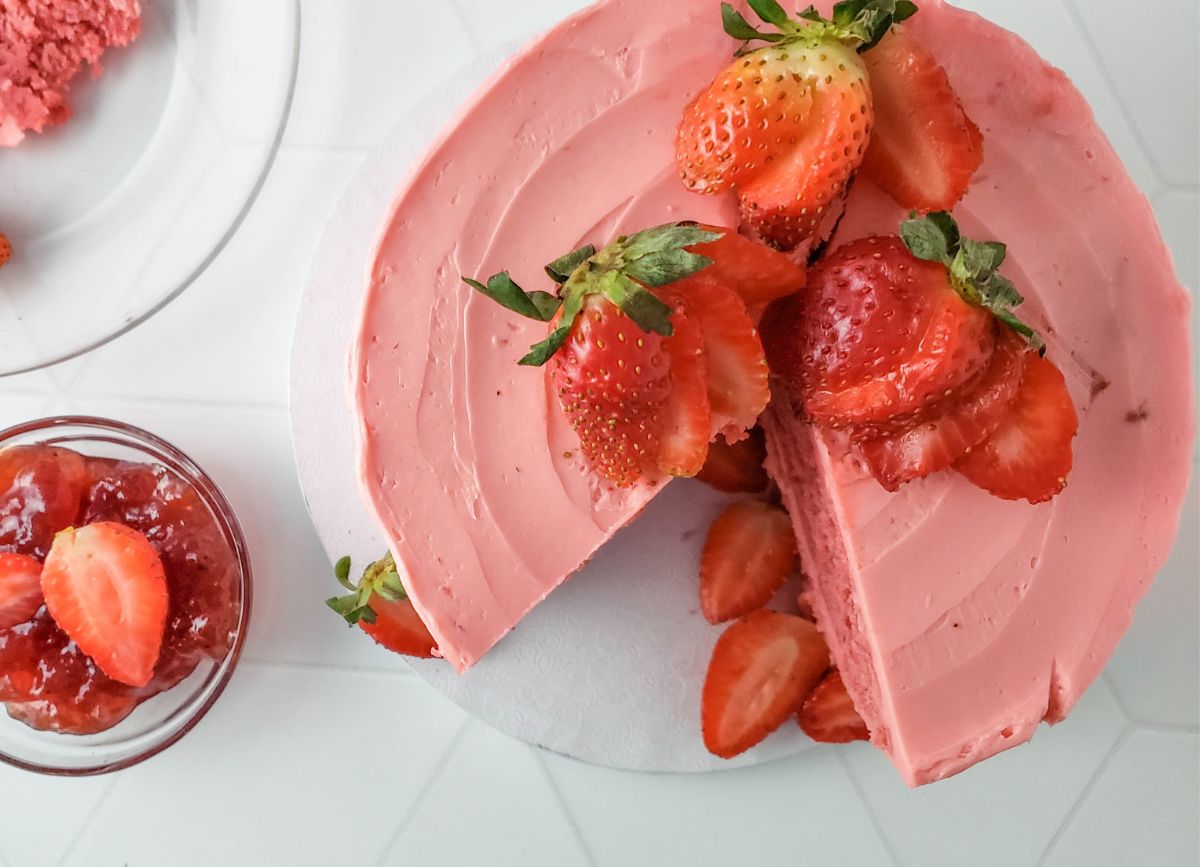
How should you decorate this layered strawberry cake?
We think simplicity is key so you could add a few fresh strawberries to the cake and it would look fabulous.
You could also add some Valentine’s sprinkles if you are making it. Candies, edible glitter (we like to use Sweets Indeed as they are gluten free, dairy free, vegan, and more! Get more info about Sweets Indeed by visiting their site), Freeze-dried strawberries, or even some dairy-free chocolate shavings (made from our favorite Dairy Free Chocolate Chips) will be great. Get creative!
Is there a way to get that natural strawberry flavor?
We have suggested using strawberry extract and pie fillings but you can get that real strawberry flavor by making a fresh strawberry puree or just adding fresh strawberries to the cake mix.
Other Strawberry recipes
- Strawberry salad - Strawberry Bleu Cheese Salad is prepared with loads of fresh, sweet, sliced strawberries, toasted nutty pecans, paper-thin red onions, crunchy salad greens, dairy-free bleu cheese crumbles, and a tangy homemade balsamic vinaigrette everyone goes wild for.
- Strawberry Rhubarb Crumble - Bubbling sweet strawberries and tart rhubarb topped with an easy, buttery crispy crumble make this Strawberry Rhubarb Crumble a recipe must. And top with a dollop of dairy-free ice cream for the perfect cozy dessert.
- Valentine’s Day Charcuterie Board - This Valentine’s Day, why not surprise your special someone with a creative and delicious gluten-free and dairy-free dessert charcuterie board? Impress them with an array of seasonal ingredients such as strawberries, pink frosting, pink and white frosted animal crackers, mini marshmallows, and a white, pink, and red sprinkle mix.
Layered Strawberry Cake
Ingredients
- 2 cups gluten free flour (remove 2 tablespoons see suggestions in post
- 2 tablespoons cornstarch
- ¾ cups white cane sugar
- 1 ½ teaspoons baking powder
- 1 ½ teaspoons salt
- 2 large eggs room temperature
- 6 ounces strawberry pie filling see suggestion in post
- ½ tablespoon strawberry extract see suggestion in post
- ½ cup vegetable oil can be swapped for olive oil
- ¾ cups buttermilk dairy free buttermilk we use this dairy free milk and vinegar for this. You can also use soy milk or coconut milk
Strawberry Buttercream
- 1 ½ cups dairy free butter see suggestion in post
- 2 cups powder sugar
- 1 teaspoon strawberry extract see brand suggestion in post
Instructions
Strawberry Cake
- Preheat your oven to 350 degrees. Lightly grease cake pans or add parchment paper to stop them from sticking to the pan.
- In a large mixing bowl add the eggs, sugar, oil, and strawberry extract. Begin mixing until combined. Make sure you take time to scrape down the sides of the bowl.
- Combine the cornstarch, gluten-free flour, salt, and baking powder in a bowl. Give the ingredients a good whisk.
- Taking your egg mixture, alternate adding the flour mixture and milk into it.
- Mix all of the ingredients together until they are well combined. Add the strawberry pie filling and mix well. Don’t exceed 1 ½ minutes as this will knock out the air in the cake batter.
- Pour equal amounts into two 6-inch round cake pans.
- Bake at 350 degrees for around 40 minutes. A great tip is to check the cakes with a toothpick. It should come out clean, if not, bake for an additional 2 minutes.
- Remove cakes from ove n and all to cool on the wire rack for 10 minutes before removing the cakes from the pans and placing them on the wire rack to cool completely.
- While the cakes are baking, mix the dairy-free butter, powdered sugar, and strawberry extract until creamy and smooth. Cover and allow to rest while the cake cools completely.
Decorating the Strawberry Layer Cake
- Place one of the cakes on a decorative cake board or cake drum. Using the angled or offset spatula, add some of the buttercream on top of one of the cakes.
- In a back-and-forth motion, spread gently to cover the cake across the top of the cake. This is the cake filling.
- Place the second cake layer on top of the cake with the buttercream. Make sure it is top-side down. Press gently as this can help remove some of the air pockets that may develop.
- Place more buttercream on the cake and gently work back and forth to spread evenly and get a smooth layer. You will also want to spread the buttercream across the sides of both cakes.
- Use the angled spatula to smooth as much as possible or make slight ridges by turning the cake on the turn table.
- Your homemade strawberry cake is ready to serve.
Notes
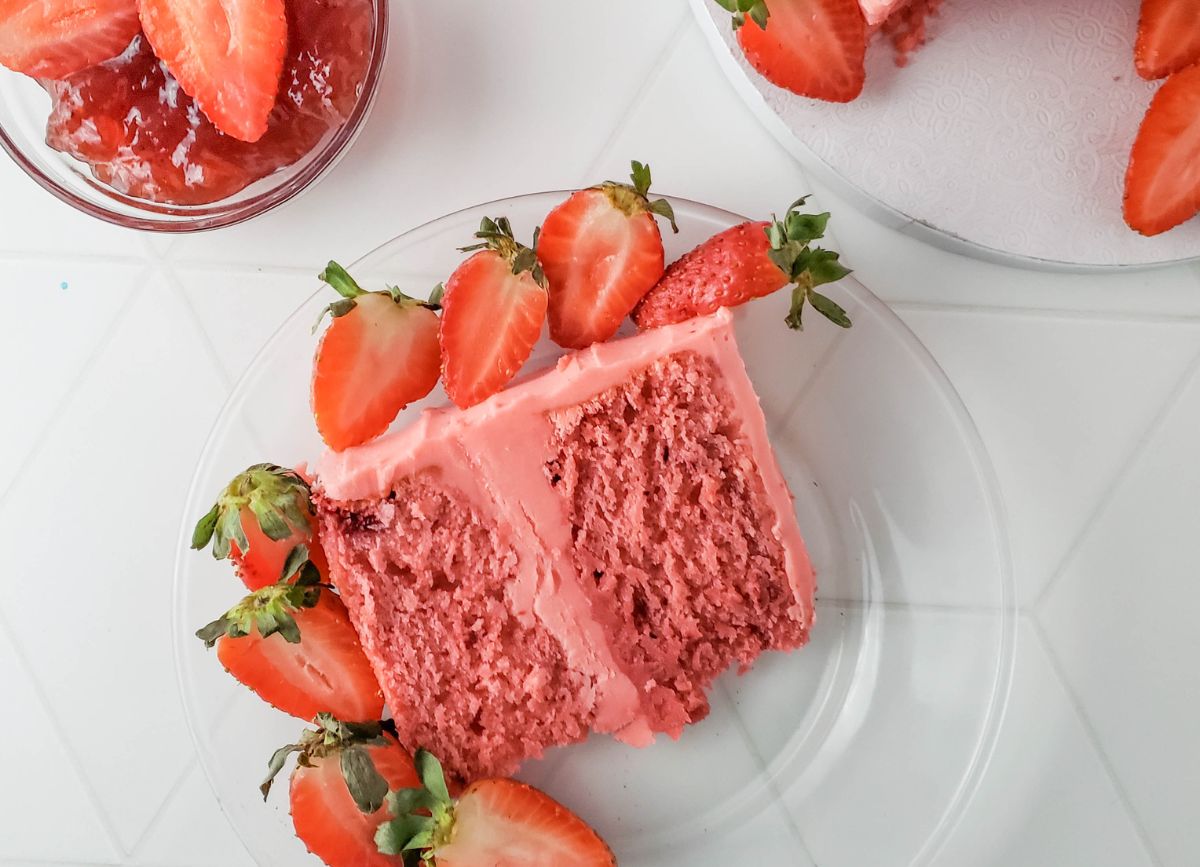
- It may be helpful to cut the top semi circle shaped layer of your cake off so it lays flat on the filling layer.
Nutrition
Nutritional Disclaimer
These Nutritional Facts are ESTIMATED. Your actual nutritional info with this recipe may vary depending on the brands you choose. “Eating Gluten and Dairy Free” is not a registered dietician or nutritionist. The provided nutritional info above is based on a generic calculator, if you want more accurate info, use your nutritional calculator of choice where you can choose brands and get more info that way.
Pin It For Later
Never Run Out of Safe Recipes
Loved this recipe? Our cookbooks are packed with tested, family-approved gluten & dairy free recipes so you never have to hunt for a safe one again. The Holiday Recipes Cookbook has 50+ recipes for every season, and The Classics has our all-time family favorites.