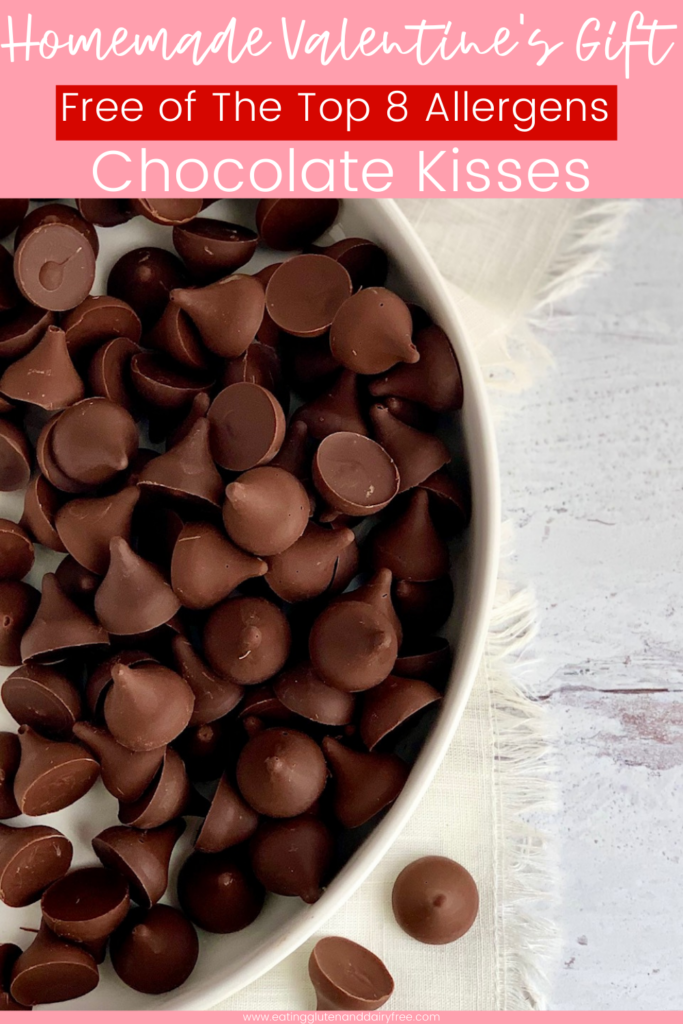
DIY Chocolate Kisses
This post may contain affiliate links. As an Amazon Associate, and through other affiliate programs, I earn a small commission from qualifying purchases — at no extra cost to you. I only ever recommend products I use and love. See our full disclosure policy for details. Thank you for supporting Eating Gluten and Dairy Free!
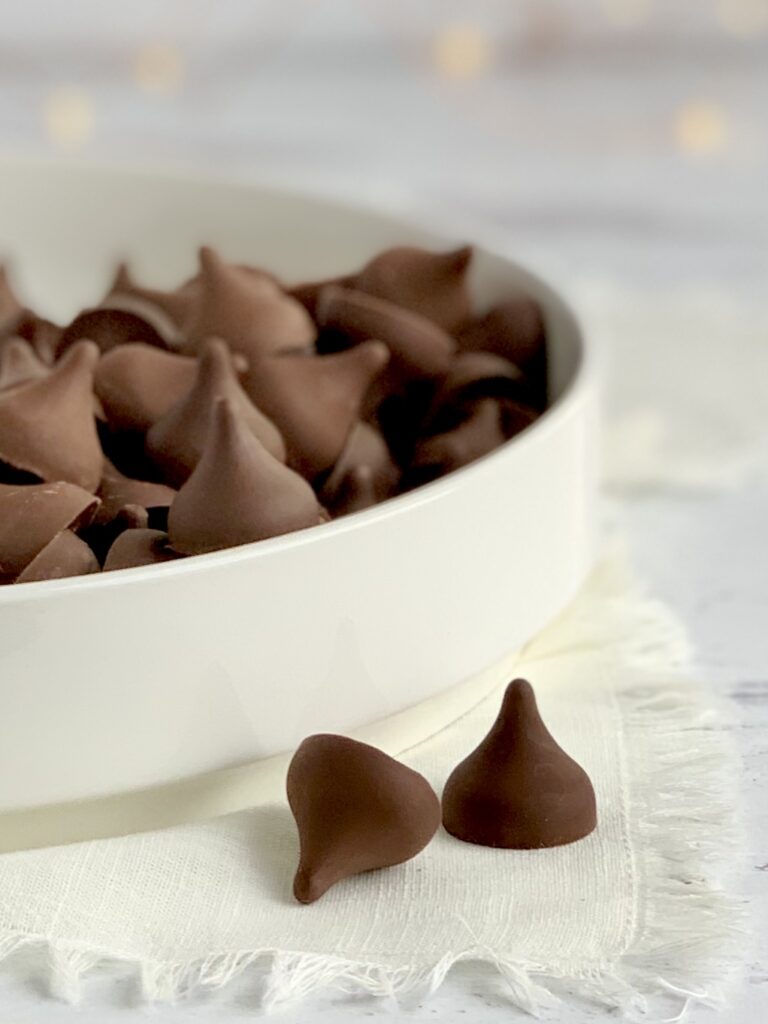
You won't believe how fun these DIY Chocolate Kisses are to eat and share with others. Equally important are how allergen friendly they are. And these kisses can be personalized for any person, occasion, and event. With this in mind these DIY Chocolate Kisses are one of my top go-to recipes.
DIY Chocolate Kiss recipe notes
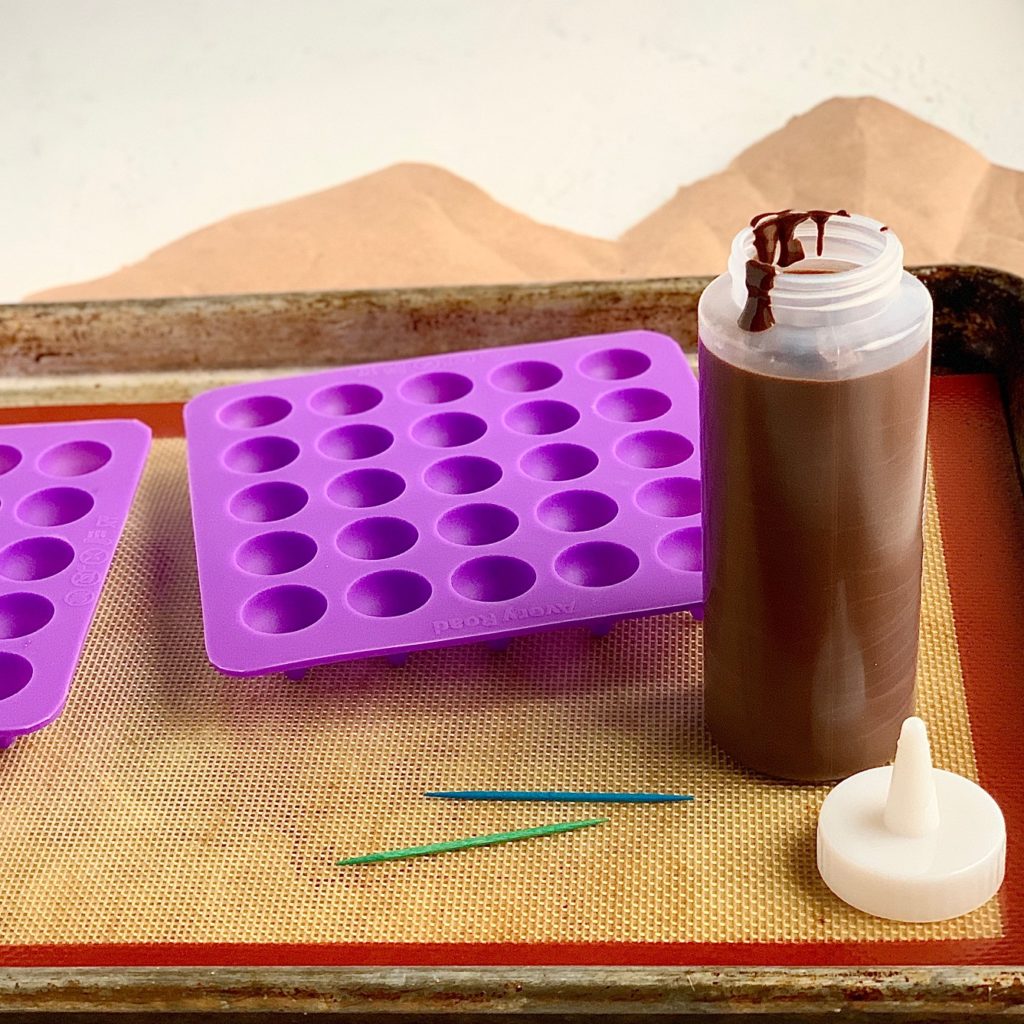
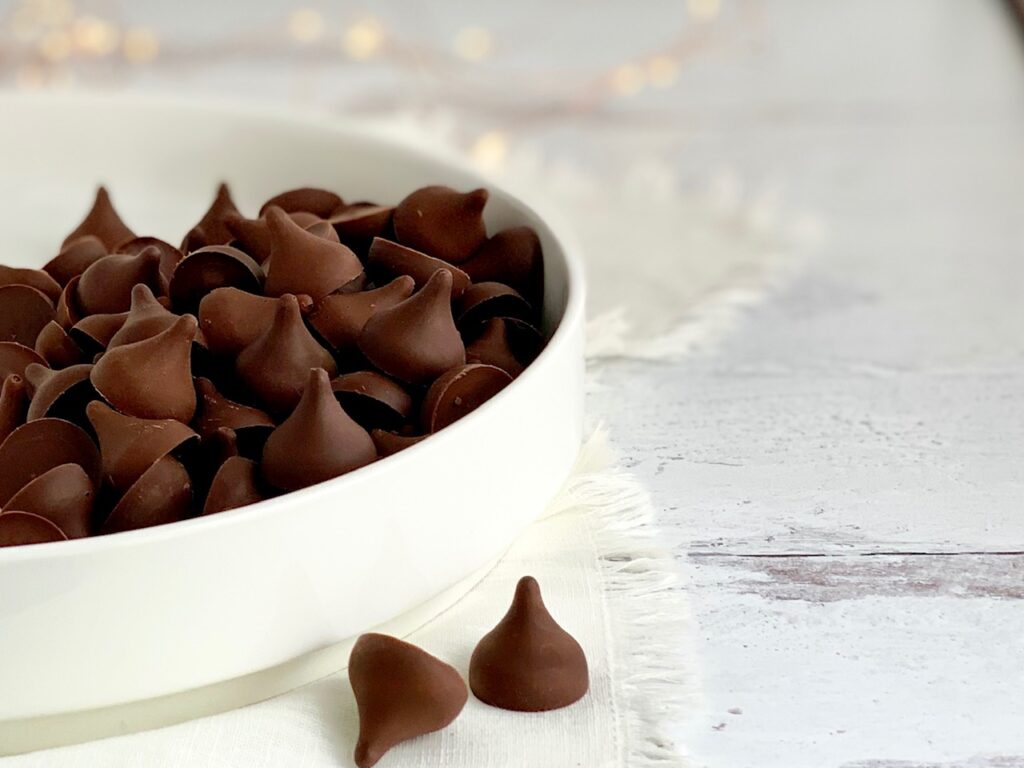
- most importantly for this recipe is a chocolate chip (kiss) mold. I bought these. They are the exact size as store bought Hershey chocolate kisses. Initially I was worried about the chocolate kisses being too delicate to remove from the silicone cavities, however I've never had an issue. Bonus...these molds are easy to clean.
- next Mini squeeze bottles make this recipe so, so easy and mess free. Side note I use my bottles weekly so these are a must have in my home.
- also have 1-2 toothpicks on hand
- and a 9 or 10 oz bag of dairy free chocolate morsels. I use Enjoy Life semi-sweet a majority of the time for this recipe. However dark chocolate morsels also taste fab. And Nestle Toll House sells allergen friendly white, dark, and semi-sweet morsels too. Let your tastes buds and imagination go wild. It's also worth noting I buy the 5 pound bag of Enjoy Life semi-sweet morels on Amazon. Buying these in bulk saves so.much.money. You can purchase them in bulk here.
- lastly to complete the Hersey Kiss look have aluminum foil and white paper on hand for wrapping kisses.
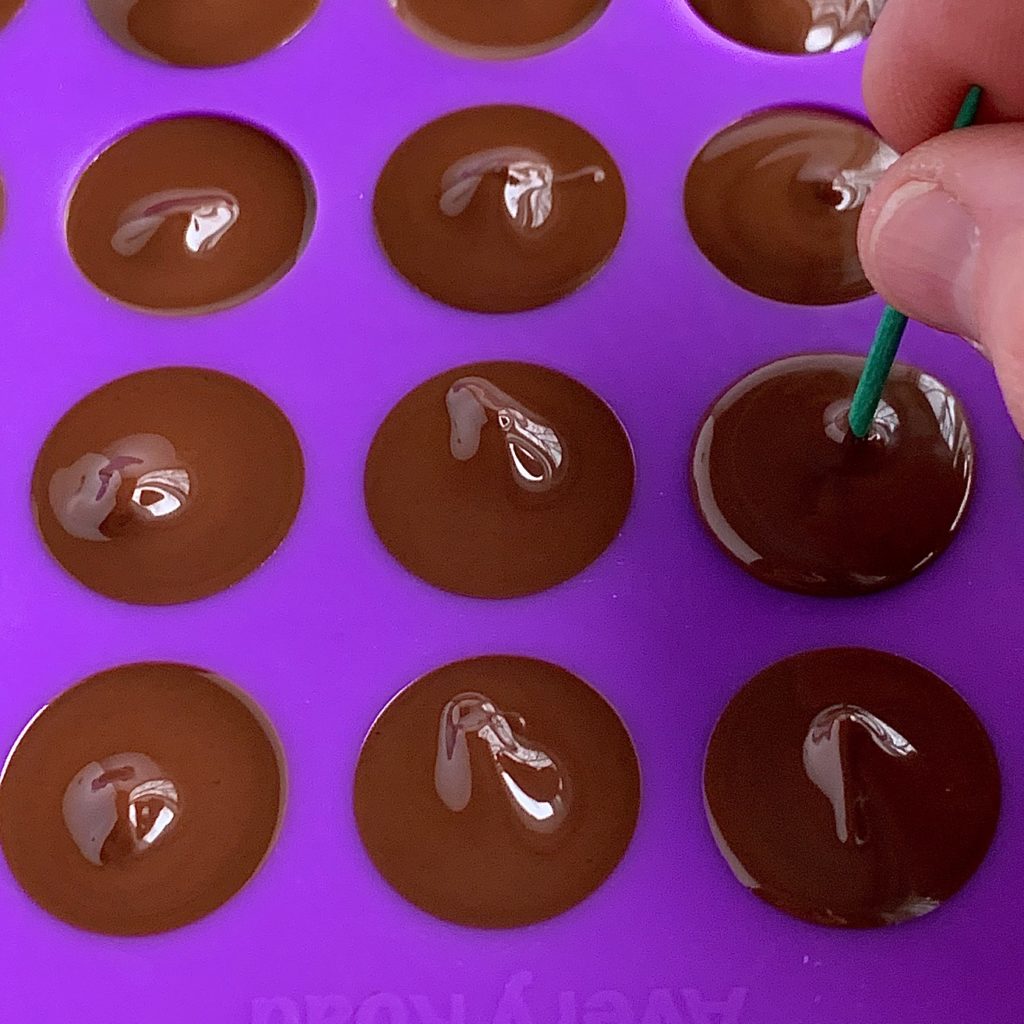
Above all it is crucially important to push a toothpick into each cavity tip. This well ensure there are no air holes and chocolate gets into the very tip of each kiss.
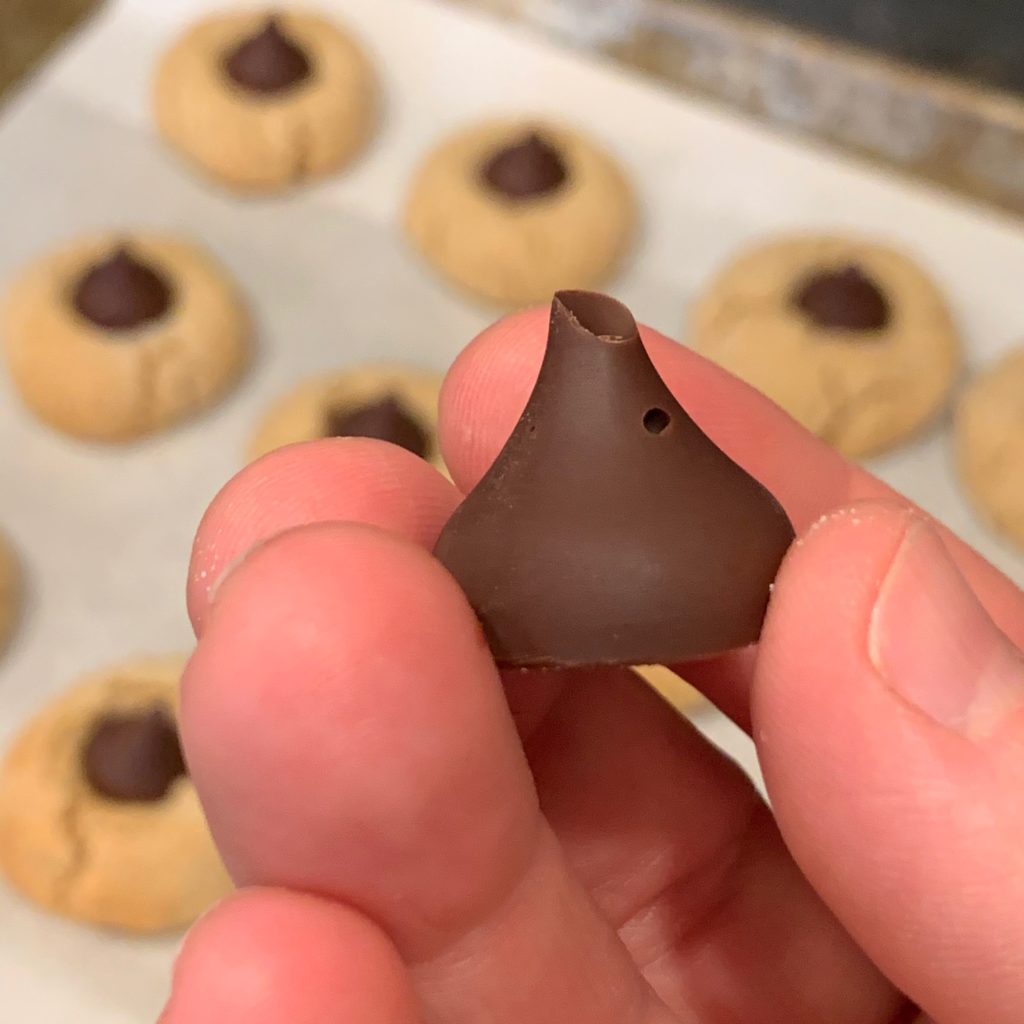
As a matter of fact learn from me.. the first time I made this recipe I didn't take that manufacturer tip seriously. Honestly I skipped the whole toothpick step. Yeeks y'all I messed up big time. About 70% of my DIY Chocolate Kisses didn't have the perfect tip and several had air bubbles. I haven't made that mistake again.
Initially I bought these chocolate kiss molds so I could make my favorite chocolate kiss cookies. Surprisingly I've stumbled upon many other uses for them.

DIY uses for Chocolate Kisses
- surprise loved ones with one of a kind messages
- birthday party favors
- for chocolate kiss cookies. Tap here for my chocolate kiss cookie recipe. Hint... you won't regret baking these cookies.
- bridal showers
- classroom Valentines with student's names on them
- sports team name
- special Valentine's for your spouse... using your spouses nickname(s) is fun and flirty
- special treats for your children's lunch
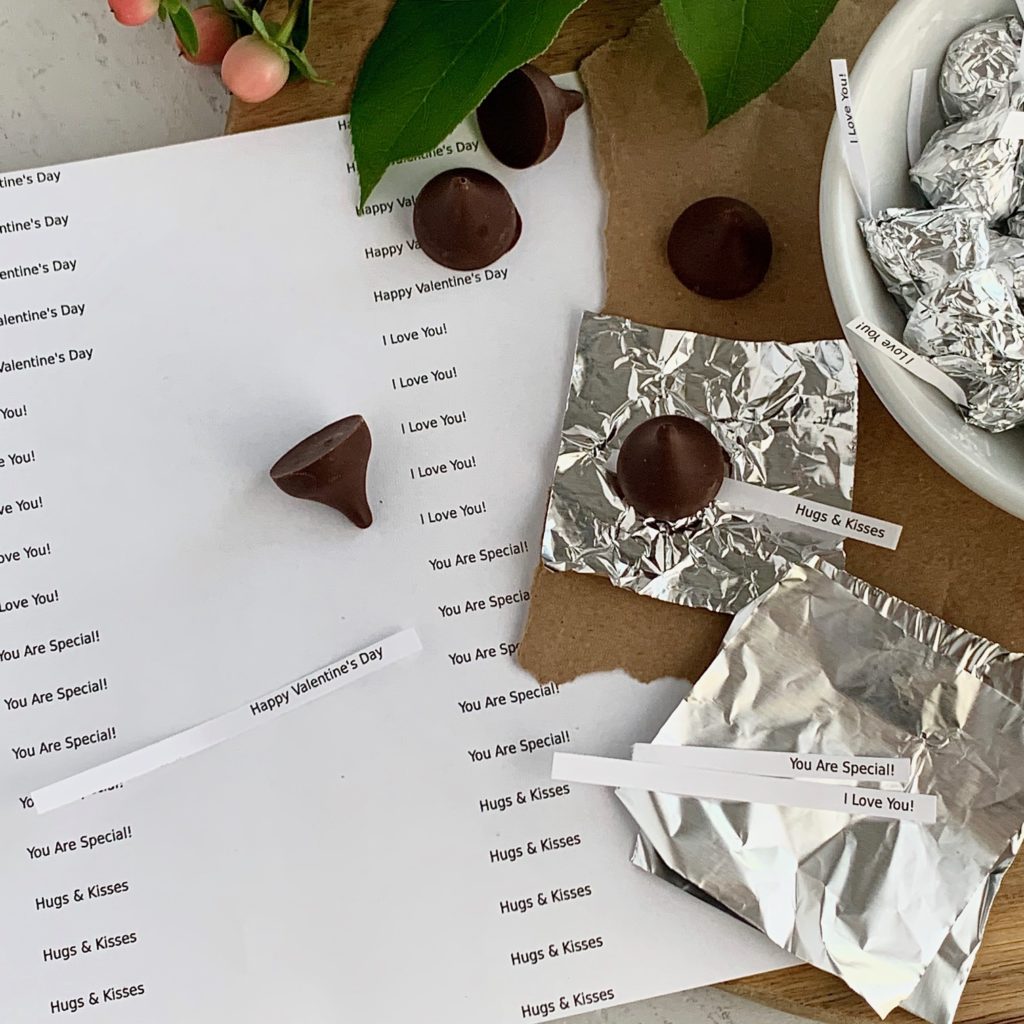
You can also use a marker or fine tip pen to print your sayings.
some of my favorite DIY chocolate kiss sayings
- Happy Valentine's Day
- I Love You
- You Are Special
- You're the Best
- I Love My Husband
- Love You to the Moon & Back
- Hugs & Kisses
- For children I enjoy writing present, positive, affirmative messages such as...I'm Beautiful Inside and Out, I'm Handsome, I'm a Hard Worker, I Can Do All Things, God Made Me Special
- Mrs. Thomas' Classroom Rocks
- Happy Birthday BFF or even better Happy Birthday to my Ride or Die
- Go Bobcats Go! #1 Team
- Happy New Year 2020
- Congratulations on Your Engagement
- I'm Gettin' Married or I'm Gettin' Kissed
- other Valentine's DIY crafts... using these chocolate kisses to make tiny mice is so fun! Check out Valentine crafts with these.
more Valentine recipes
- chocolate covered strawberries-- these are a must-have throughout the year in our home
- your Valentines day food guide-- 9 recipes for all ages to enjoy throughout the day
As you can see the possibilities with these DIY Chocolate Kisses is endless! The chocolate molds were a great investment! Now that I have them I can't stop using them... I might be a chocolate kiss maker addict. And now you and your family can join in the fun too!
Let me know in the comments how you used this DIY Chocolate Kiss recipe. Tag me on Instagram with @eatingglutenanddairyfree with any of my recipes... cause I wanna see your food.
Eat well and feel well,
Jill

Ingredients
- 1 bag dairy free chocolate morsels, Enjoy Life morsels are awesome
Instructions
- Melt chocolate morsels over low heat or soften in the microwave.
- Pour melted chocolate into a mini squeeze bottle.
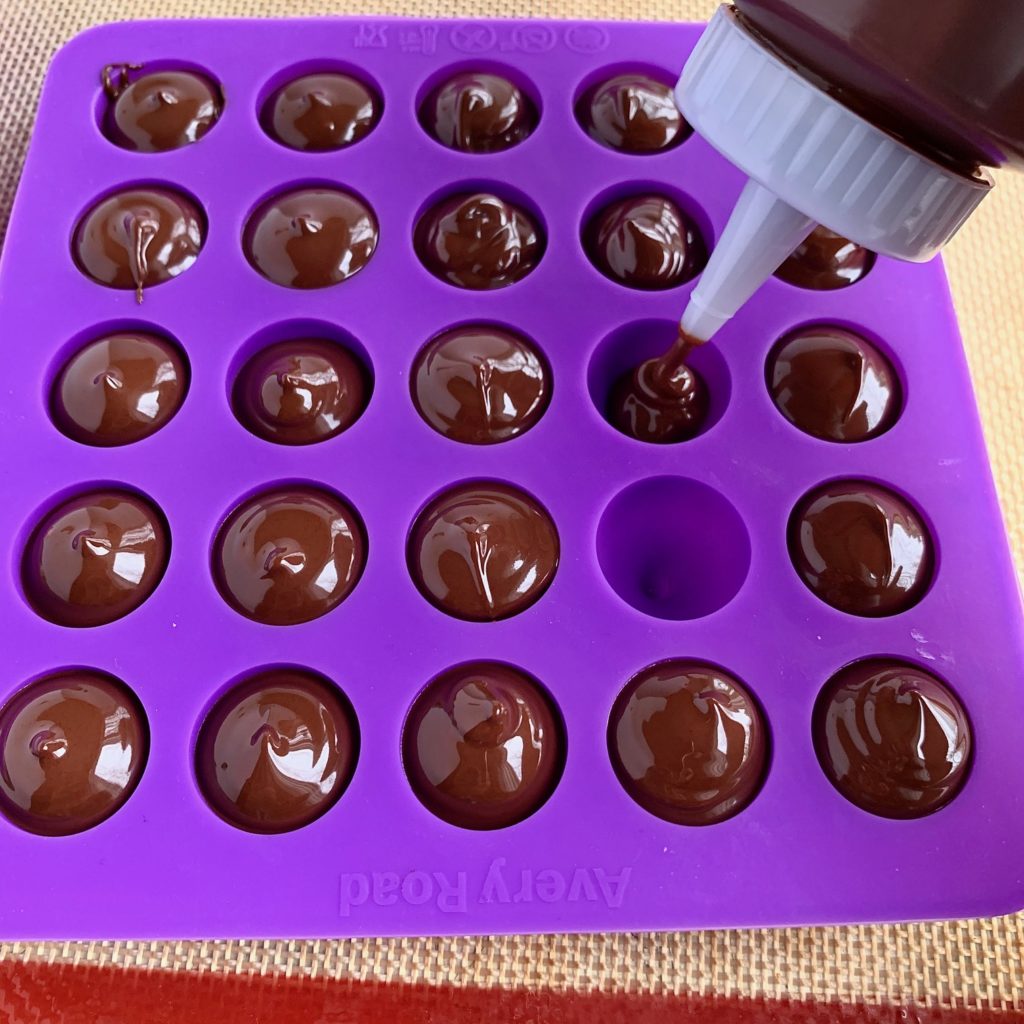
- Fill kiss cavity with chocolate. Tap tray on a hard surface.
- Push toothpick to tip of each cavity to get air bubbles out.
- Let cool at room temperature. If you're in a hurry, refrigerate until hard.
- After hardened, push kiss out of each cavity. Store in an airtight container up to a few days. Note- after 5 to 6 days these may start to discolor from humidity.... they'll still taste great.
Nutritional Disclaimer
These Nutritional Facts are ESTIMATED. Your actual nutritional info with this recipe may vary depending on the brands you choose. “Eating Gluten and Dairy Free” is not a registered dietician or nutritionist. The provided nutritional info above is based on a generic calculator, if you want more accurate info, use your nutritional calculator of choice where you can choose brands and get more info that way.
Cooking Gluten & Dairy Free for the Holidays?
Our Holiday Recipes Cookbook has 50+ tested gluten & dairy free recipes — desserts, sides, and holiday staples for every season and celebration, all in one place. Instant download, just $15.