
Gluten Free Potato Wedges
This post may contain affiliate links. As an Amazon Associate, and through other affiliate programs, I earn a small commission from qualifying purchases — at no extra cost to you. See our full disclosure policy for details.
You know the best part of enjoying these Gluten Free Potato Wedges? Their delicious taste -- crispy on the outside, soft on the inside, and perfectly seasoned to perfection. Yumm-eee! These create the best side dish for so many meals!

It's worth noting these baked potato wedges are perfect to serve company too. They are a naturally gluten and dairy free side dish everyone can enjoy.
A key point to baking these wedges is they're not fried. When trying to make healthier meals for my family, it's always a win-win to find healthier versions of delicious foods that are still yummy.
It's worth noting my family and I think these taste just as good if not better than fried french fries. That's a huge win in my book!
Baked Potato Wedges Ingredient Notes
- 4-6 large Yukon Gold potatoes – their thin skin and creamy texture make them ideal for wedges, but russets work too.
- 2 tablespoon oil – any neutral oil works well for coating the wedges before baking.
- garlic powder, salt, onion powder, black pepper – the base seasoning blend.
- optional: dill, paprika, or cayenne pepper – add any of these to customize the flavor.
- garnish: fresh chopped parsley – adds a fresh finishing touch.
How to Make Gluten Free Potato Wedges
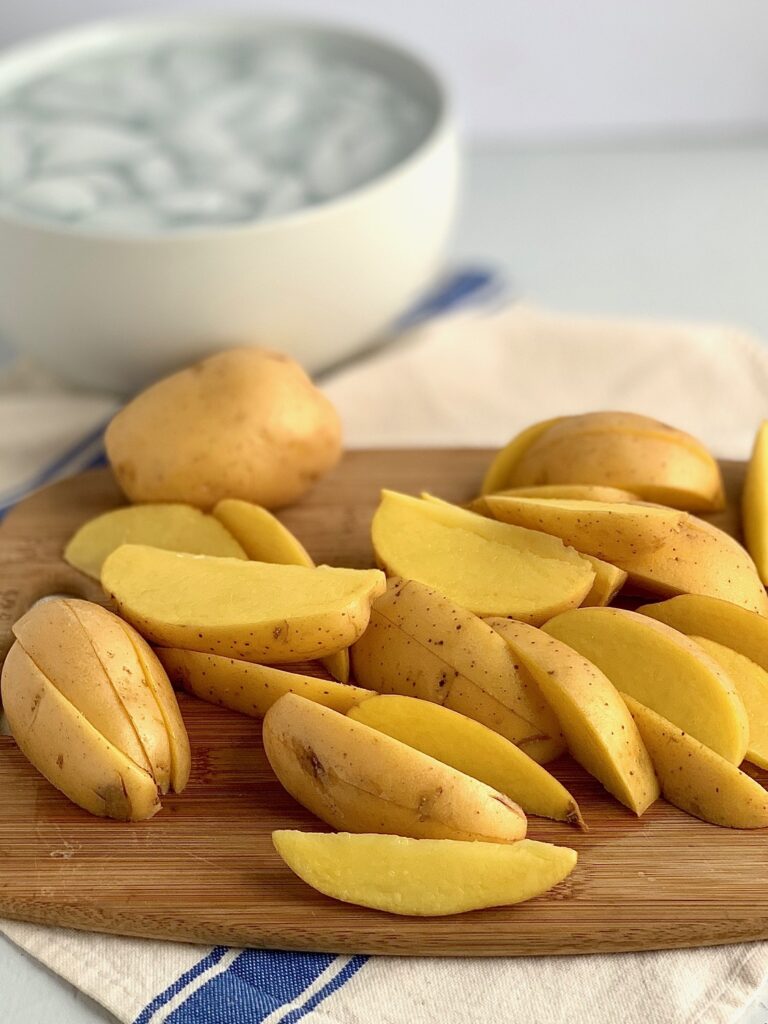
- Fill a large bowl with cold water and ice cubes and set aside.
- Clean the potatoes and cut into wedges by slicing each potato in half, then in half again lengthwise (very large potatoes can be sliced a third time). You'll end up with 4-8 wedges per potato.
- Place the cut wedges in the ice water bath for 20-60 minutes.
- Preheat the oven to 425°F and line a baking sheet with parchment paper or foil.
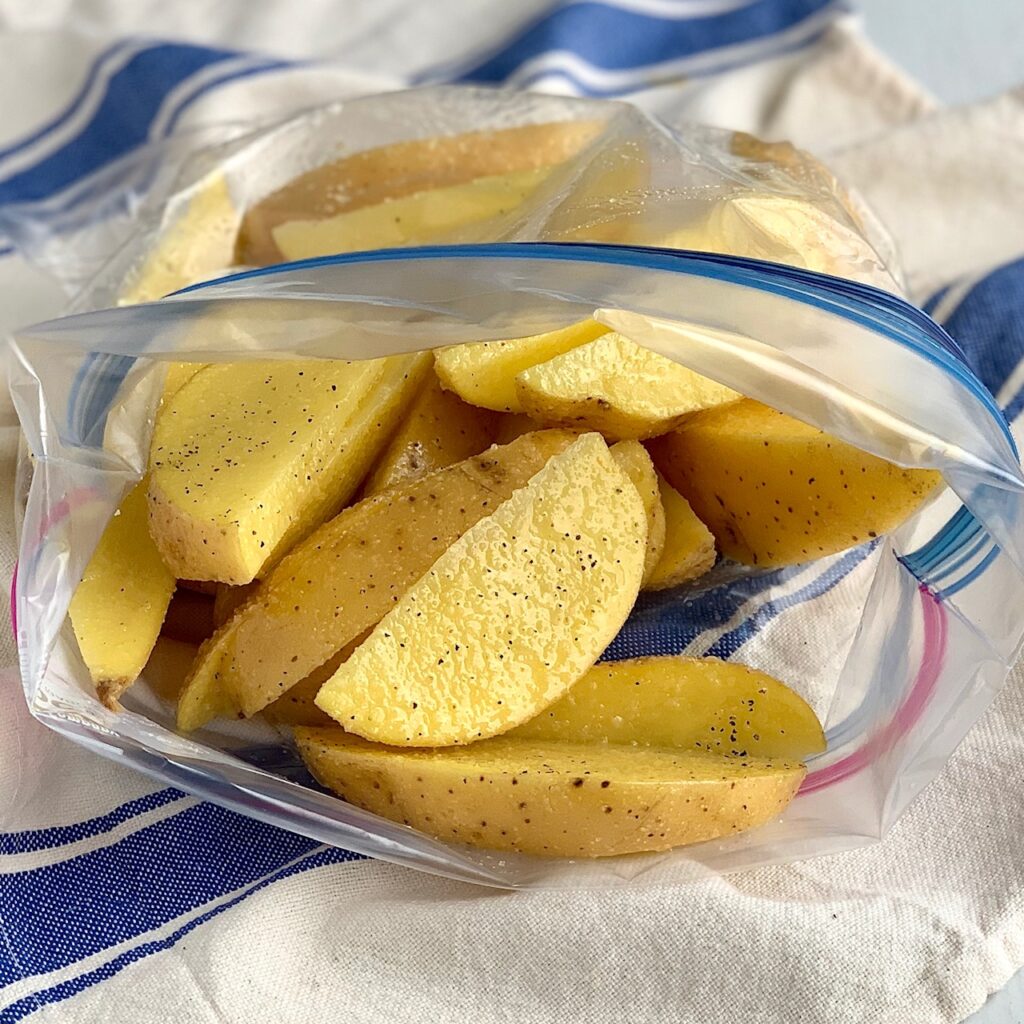
- In a gallon-size Ziploc bag, combine the oil, garlic powder, salt, onion powder, black pepper, and any of your favorite potato seasonings.
- Remove the wedges from the ice bath, pat dry with a towel, and transfer to the Ziploc bag.
- Gently shake the bag to coat the wedges evenly in oil and spices.
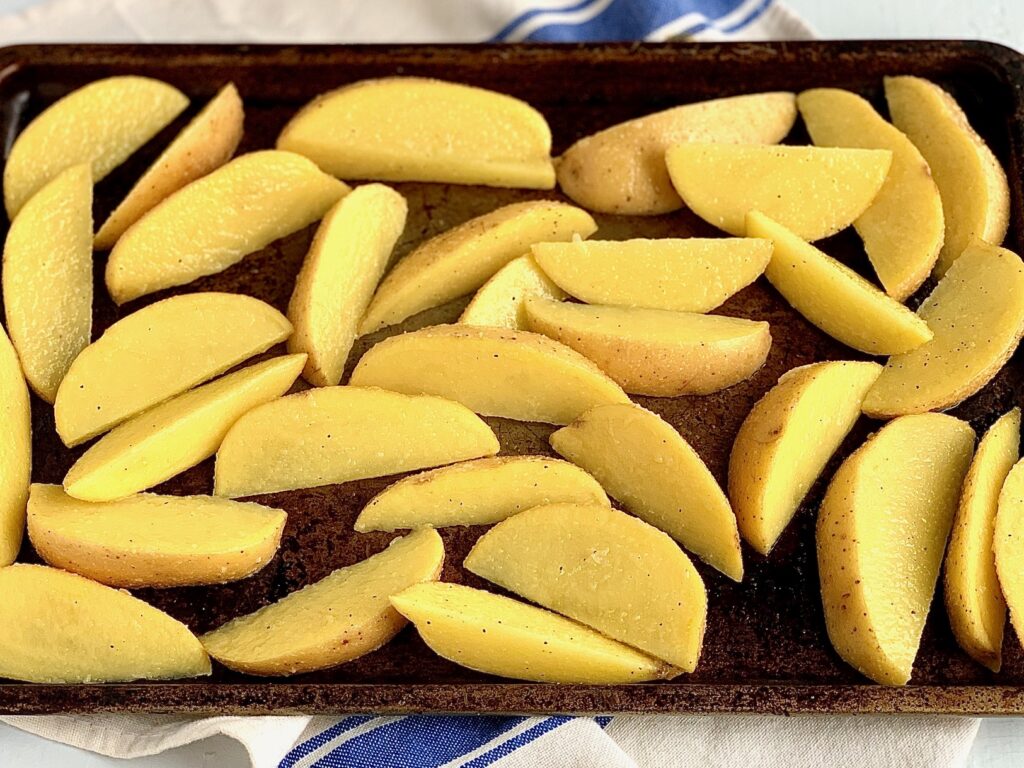
- Arrange the wedges in a single layer on the prepared baking sheet.
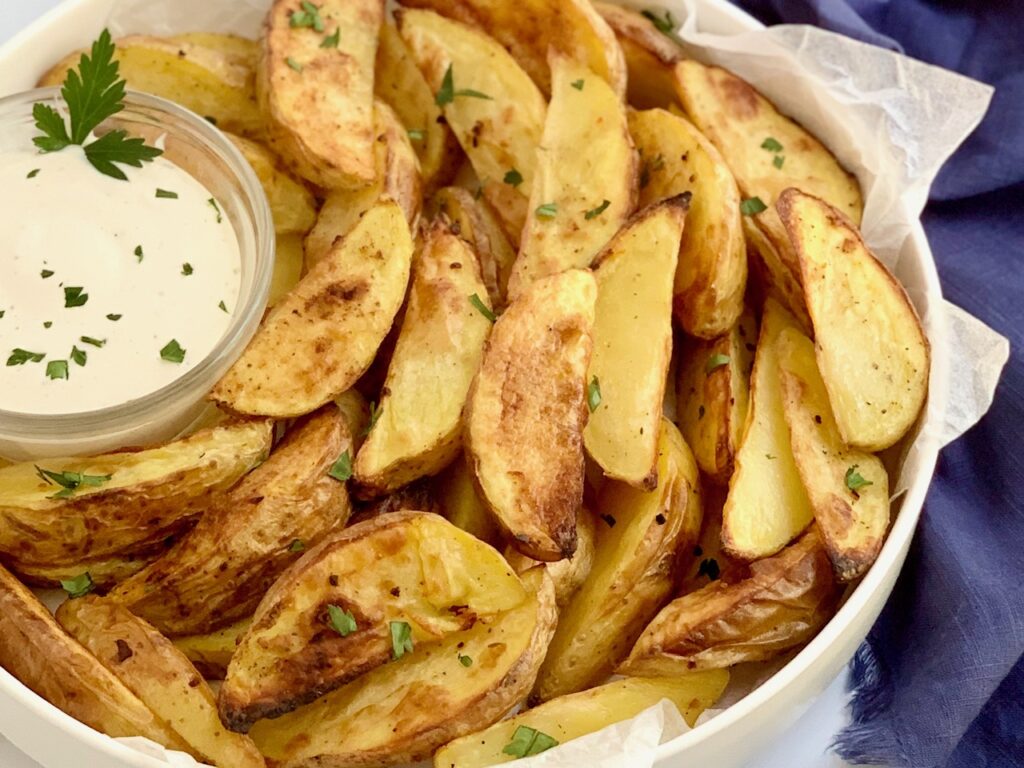
- Bake for 20 minutes, flip the wedges, then bake for another 20 minutes, watching closely during the last 5-8 minutes so they don't burn (oven temperatures vary).
- Remove from the oven, sprinkle with fresh chopped parsley, and serve with ketchup or your favorite dipping sauce.


When to Serve Gluten Free Potato Wedges
- an easy and filling dinner idea
- the perfect BBQ side
- for a Super Bowl party buffet
- eating while watching the big game with buffalo chicken wings
- large, extended family get together's and
- a delicious brunch buffet option
Best Dipping Sauces for Dairy Free Potato Wedges
- our family's favorite dipping sauce for these potato wedges is my Homemade Chick-Fil-A Sauce recipe found here. This tastes just like the real deal, and it's 100% gluten and dairy free. You only need 4 ingredients to enjoy this dipping sauce.
- ketchup
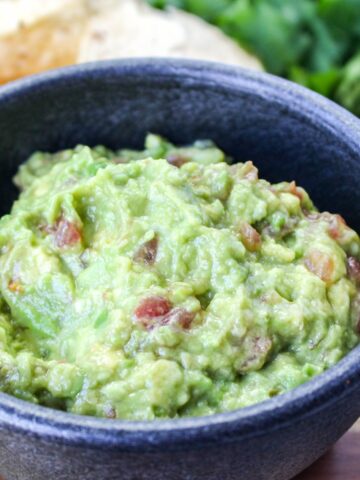
- guacamole
- dairy free ranch dressing-- check out this post for safe suggestions
- mayonnaise
- mustard
- chili sauce
- BBQ sauce

Recipe Tips & Variations
- Don't skip the ice water soak – it removes excess starch and helps the wedges turn out crispier.
- Pat the potatoes very dry before tossing them in oil so the seasoning sticks and they crisp up properly.
- Arrange wedges in a single layer with space between them – overcrowding the pan leads to steaming instead of crisping.
- Add a pinch of cayenne pepper if you like a little heat, or leave it out for a mild, family-friendly version.
Frequently Asked Questions
Can I make these potato wedges ahead of time?
You can cut the potatoes and let them soak in the ice water bath a few hours ahead of time. For the best texture and crispiness, bake them fresh right before serving.
What should I serve with baked potato wedges?
These make a great side for burgers, BBQ, or buffalo chicken wings, and pair well with your favorite dipping sauce – check out the dipping sauce ideas below.
What else can I add to this recipe?
Try adding smoked paprika, a sprinkle of parmesan-style dairy free cheese, or fresh herbs like rosemary or thyme for a different flavor twist.
Are these potato wedges spicy?
Not as written – the base seasoning is mild. Cayenne pepper is listed as an optional add-in if you'd like to add some heat.
How do I store leftovers?
Store leftover wedges in an airtight container in the refrigerator for up to 3 days. Reheat in the oven or air fryer to help them crisp back up.
More Gluten Free Dairy Free Dinner Recipes
- homemade sloppy joes -- this easy dinner idea is a family favorite. And we like it best when served alongside these potato wedges.
- oven roasted salmon -- you won't be able to get enough of this moist, flaky, and caramelized roasted salmon
- shepherd's pie -- this one of my most popular recipes and the ultimate cozy, comfort food enjoyed anytime of the year

Ingredients
- 4-6 large Yukon Gold potatoes
- 2 tablespoon oil I use grape seed oil
- 1 teaspoon garlic powder
- 1 teaspoon salt
- ½ teaspoon onion powder
- dash of ground black pepper
- optional: dill, paprika, or Cayenne pepper
- garnish: fresh chopped parsley
Instructions
- Fill a large bowl with cold water and ice cubes, set aside.
- Clean and cut potatoes into wedges by slicing the potato in half, then cut in half again (long wise). If your potatoes are really large, slice them a 3rd time. Over all you will have 4-8 wedges per potato.
- After potatoes are cut, place them in the ice cold bowl for 20-60 minutes.
- Preheat oven to 425°F and prepare a baking sheet. Place parchment paper on a baking sheet or use aluminium foil, set aside.
- Prepare a gallon size Ziploc bag with oil, garlic powder, salt, onion powder, black pepper, or your favorite potato seasonings.
- Remove potato wedges from cold bath and place on a towel. Dry wedges well then transfer to Ziploc bag.
- Gently shake potatoes in Ziploc bag to coat potatoes well with oil and spices.
- Remove wedges from the bag and transfer to prepared baking sheet. Arrange wedges in a single layer.
- Place in the oven for 20 minutes. Remove from the oven and gently flip wedges, return to the oven for another 20 minutes.
- The last 5-8 minutes watch potatoes carefully so they don't burn. It seems some ovens tend to bake hotter than others.
- Remove wedges and sprinkle with fresh chopped parsley. Serve with ketchup or another favorite dipping sauce.
Notes
Nutritional Disclaimer
These Nutritional Facts are ESTIMATED. Your actual nutritional info with this recipe may vary depending on the brands you choose. “Eating Gluten and Dairy Free” is not a registered dietician or nutritionist. The provided nutritional info above is based on a generic calculator, if you want more accurate info, use your nutritional calculator of choice where you can choose brands and get more info that way.
Never Run Out of Safe Recipes
Loved this recipe? Our cookbooks are packed with tested, family-approved gluten & dairy free recipes so you never have to hunt for a safe one again. The Holiday Recipes Cookbook has 50+ recipes for every season, and The Classics has our all-time family favorites.
Why do you put them in cold water, what does that do?
I'm so glad you reached out to ask. The cold water bath helps them to rinse off the excess starch so the wedges don't stick together on the baking shee. And they are also crispier after baking. Hope this helps, Jill
Great content! Super high-quality! Keep it up! 🙂
Thank you so much, Jill