Chocolate Dipped Ice Cream Cones
This post may contain affiliate links. As an Amazon Associate, and through other affiliate programs, I earn a small commission from qualifying purchases — at no extra cost to you. I only ever recommend products I use and love. See our full disclosure policy for details. Thank you for supporting Eating Gluten and Dairy Free!
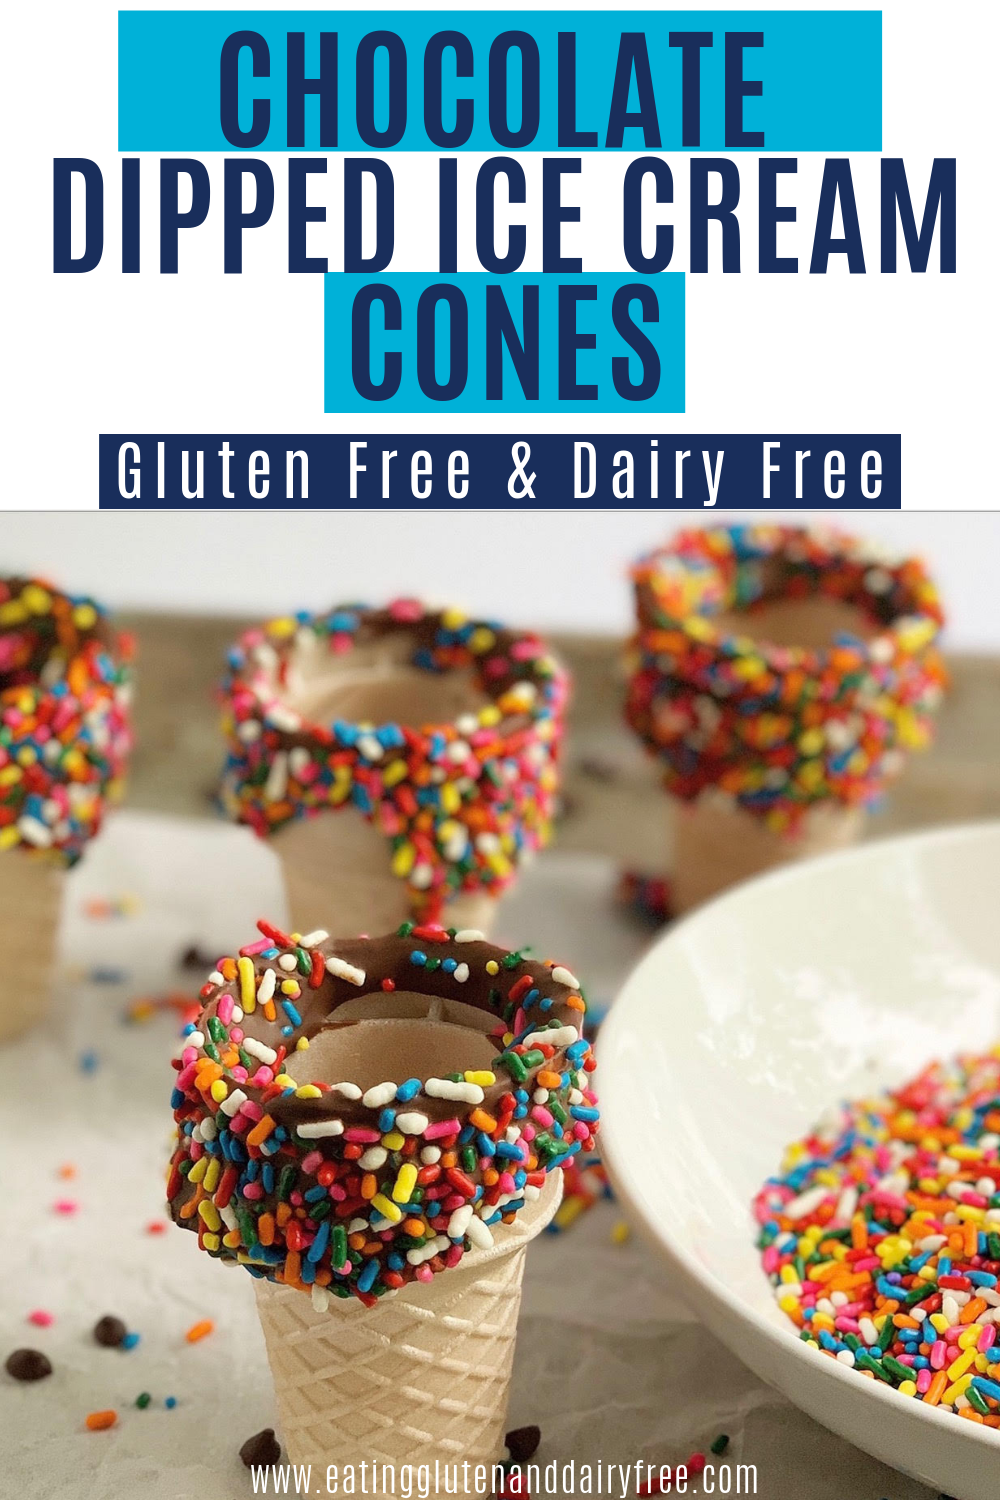
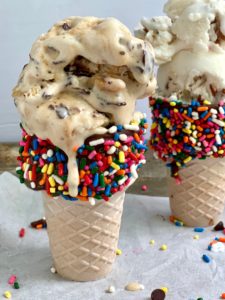
"These chocolate dipped ice cream cones will take your summer ice cream consumption to a whole new level. As in, an epically delicious and fun level, y'all.
Looking back I wish I'd videoed the first time I created these amazing treats. My children's reactions were priceless. You'd thought they were starstruck. All three of them were speechless. After a few seconds they erupted with cheers of excitement.
In time family and friends haven't been able to eat enough of these chocolate dipped ice cream cones. The sprinkles add in fun texture, taste, and visual appeal.
Undoubtedly, you will love these chocolate dipped ice cream cones too!
In a world full of many gluten and dairy free "can't"s it's thrilling to find a "can".
Only four ingredients are needed to create chocolate dipped ice cream cones:
- First you'll need ice cream cones. Here are a couple ideas...Let's Do Ice Cream Cones are the cake cones. And Let's Do Organic Sugar Cones are pointy at the bottom. Either one will work.
- Enjoy Life chocolate chips (minis or chunk)
- Coconut oil
- Lastly gluten free and dairy free sprinkles. Carefully read the sprinkle label. Unfortunately I've noticed a fair amount of dairy in some sprinkles. You could even enjoy themed sprinkles. With the Fourth of July coming up, red, white, and blue sprinkles would be epic for a Fourth Party.

To create these eye popping chocolate dipped ice cream cones:
Keep in mind you'll find it's a relatively easy process. But it can be a bit messy.
First melt your chocolate and coconut oil. Some prefer to do this in the microwave. I've always melted it in a small saucepan over low heat.
Second as that melts place parchment paper over a large jelly roll pan. Then pour sprinkles into a bowl. And lay out all ice cream cones. Do this over the parchment paper to keep a contained mess.
Next you'll want to work right next to the stove for this recipe. Take your first ice cream cone and dip it in melted chocolate. I make sure to really get a thick layer on the outside of the cone. Swirl it around well in the chocolate.
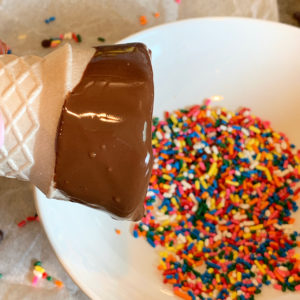
Then take the cone out of the chocolate and hold it for 30 seconds to a minute and let it slightly cool and set.
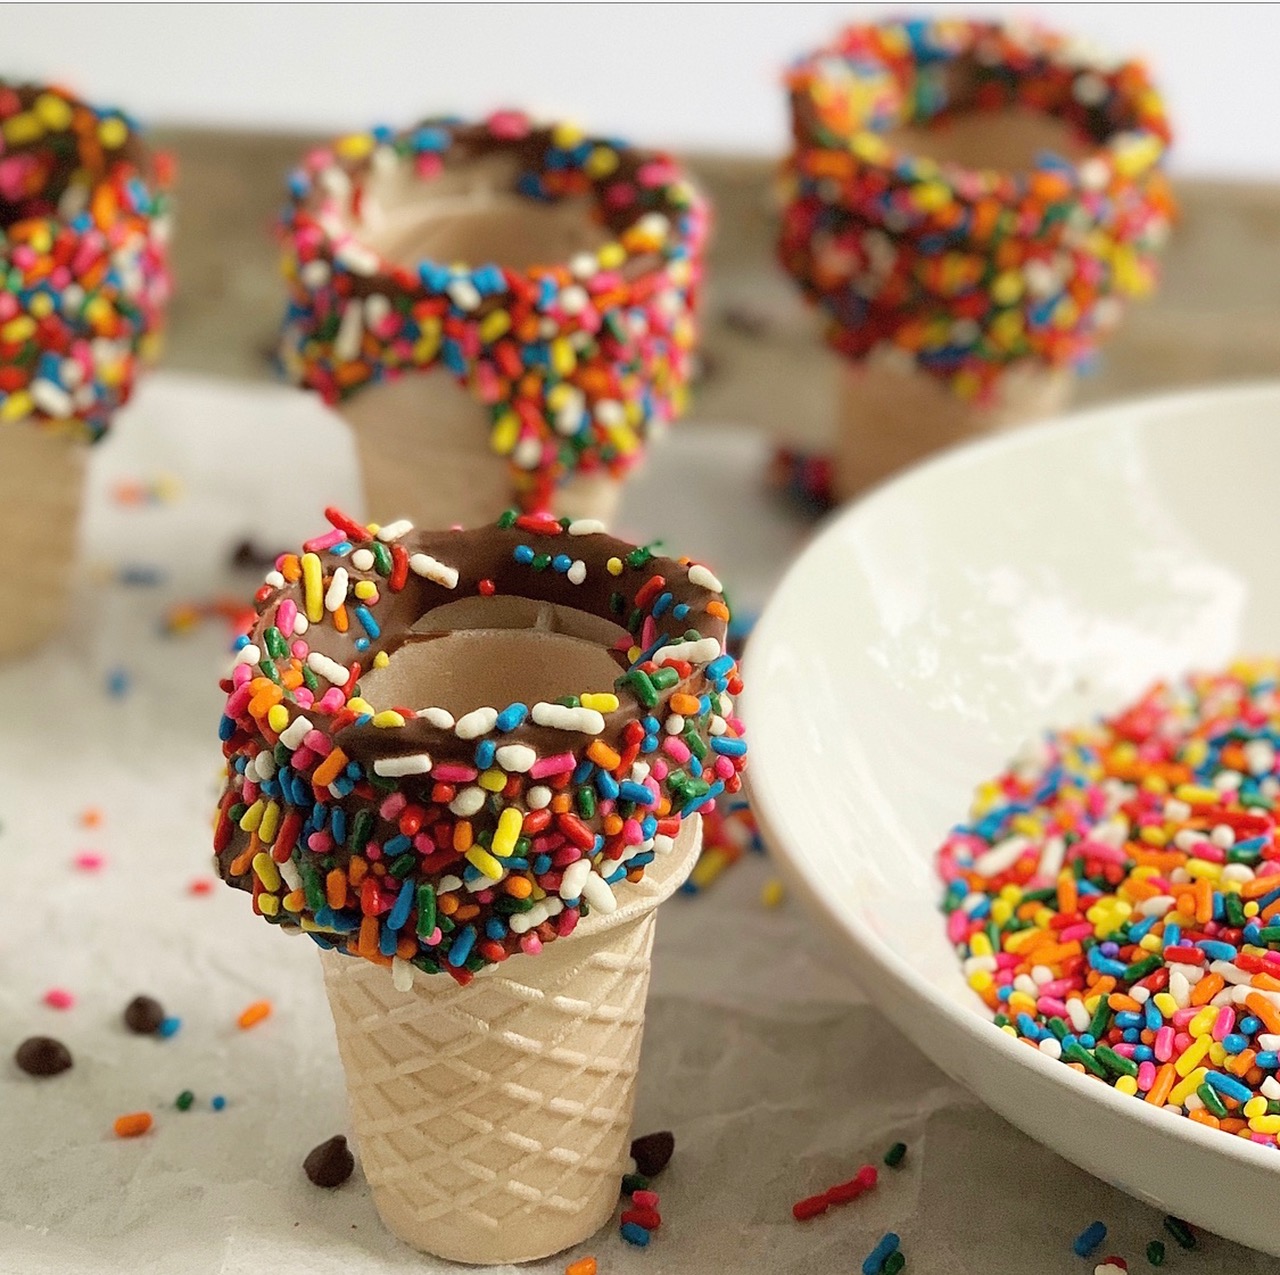
Last step is to hold the cone over the parchment paper and drop sprinkles by handfuls. Turn the cone to coat all sides.
You'll most likely encounter some runny chocolate. Or maybe even a small glob might drop onto the parchment paper. Set the cone aside for a couple minutes to cool while you do the same process to another cone.
I like coming back to a cone after 3-4 minutes and carefully sprinkling more on the places that have run or fallen. You can tap the sprinkles into place on the cone.
Allow cones to stand and set before scooping ice cream into them. I'd suggest letting them set for an hour. Store these in an airtight container if needed for a couple of days. Always store your decorated cones away from heat.
These will be messy to eat. But who's surprised when we consider all those sprinkles! ♥
You'll find the perfect place to enjoy chocolate dipped ice cream cones with sprinkles is outside. Which makes them perfect for this summer.
Speaking of ice cream... there are countless dairy free ice cream options. Two of our favorites are pictured... So Delicious Oh-Ho Strawberry and Salted Carmel Cluster.
Ingredients
- ½ c dairy free chocolate chips
- ½ teaspoon coconut oil
- 1 cup sprinkles
- 5 gluten free ice cream cones
Instructions
- Place parchment paper on large jelly roll pan.
- In a small saucepan over low heat melt chocolate chips and coconut oil. Stir occasionally.
- While chocolate melts place sprinkles in bowl. Put bowl on parchment paper.
- Place ice cream cones on parchment paper.
- When chocolate and coconut oil is melted and mixed, dip ice cream cone into mixture. Be sure to coat top of cone well.
- Hold cone for 30 seconds until slightly cooled and chocolate is set.
- Then drop sprinkles onto cone as you slowly rotate it. Let cone set for a few minutes while you construct other cones.
- Check each cone for runs and add in extra sprinkles as needed.
- Allow to cool and set for an hour before scooping ice cream into cones.
- Store in an airtight container up to a few days. Keep stored cones away from heat.
Nutritional Disclaimer
These Nutritional Facts are ESTIMATED. Your actual nutritional info with this recipe may vary depending on the brands you choose. “Eating Gluten and Dairy Free” is not a registered dietician or nutritionist. The provided nutritional info above is based on a generic calculator, if you want more accurate info, use your nutritional calculator of choice where you can choose brands and get more info that way.
In Conclusion

Your summer ice cream cones will now be extraordinary. This recipe is a simple way to make eating gluten and dairy free more fun.
Without a doubt these chocolate dipped ice cream cones will create a fun atmosphere. They are perfect for any summer birthday celebrations or BBQ's.
And your kids won't soon forget these. They'll help create a treasured ice cream memory of "remember when..."
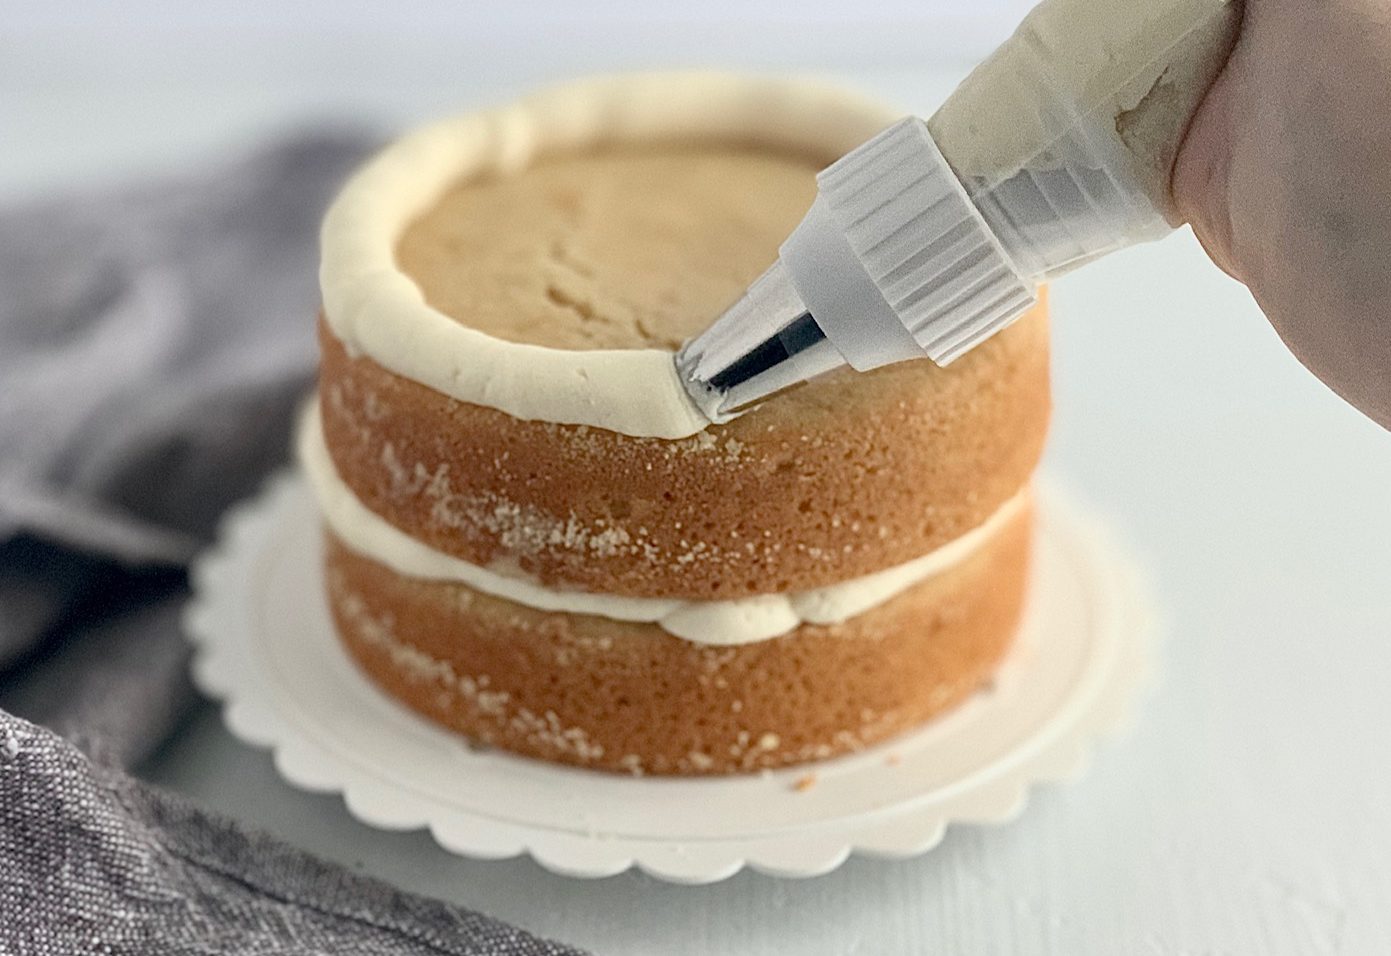
Speaking of summer birthdays...if your child is into motocross, dirt bikes, or four-wheelers, check out this epic birthday cake idea here. In this post I walk you through each step and show you where to purchase everything you'll need for this cake. I demonstrate how to build the ramps out of gluten and dairy free cake.
Lastly, there are many other mouthwatering recipes on my blog. Go ahead and check it out here.
Eat well and feel well,
Jill
Never Run Out of Safe Recipes
Loved this recipe? Our cookbooks are packed with tested, family-approved gluten & dairy free recipes so you never have to hunt for a safe one again. The Holiday Recipes Cookbook has 50+ recipes for every season, and The Classics has our all-time family favorites.